New skins?
If you’ve just got some new skins, or your first full set for the mountains – boots, beacon, helmet, poles, skis and skins – you’ll be anxious to get your skins right.
Today, most skins come in fixed lengths and widths. They also have fixtures at the front, and preferably an adjustable fixture at the back, allowing you to adjust the length for your skins. Skins typically come in “clothes sizes”, from extra-small to extra-large. A glance at the size chart or packaging well tell you which one you need.
Does the skin have to cover the entire sole?
No. A skin made for getting you to the top of a mountain doesn’t have to cover the entire ski base. That would be a lot of skin. Neither the tip of the ski and the rear 20cm of the skin are used when you’re propelling yourself. It’s also not a big problem if the skin’s slightly narrower than the ski’s widest points. All you need is relatively good coverage underfoot. Less skin under the ski means less resistance. Which means better glide. You don’t want to lift your skis from the snow while you’re ascending. Generally, most “universal skins” come in 120–130cm widths. This should work in most cases.
Tailoring your skins
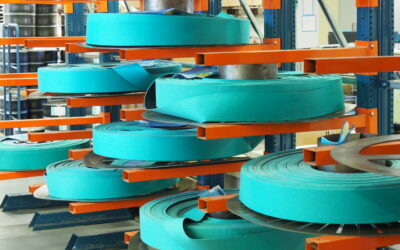
So – what exactly is a skin, anyway?
Skins are more than a strip of carpet with glue on the back. They’re tools designed to help us in pursuit of pristine snow, perfect lines, and/or solitude. Something this magical demands a proper description of how it’s made.

Packing for alpine touring
Some extra clothes, a headlamp and a spare battery for the avalanche beacon. These go in the pack without thinking. But what else do you need? We asked mountain guides and our panel of experts what we should bring. Here’s what they said – with some useful advice and tips.
Hot waxing skins
Hot waxing skins? Yes. That’s right. The rumours are true: you can wax skins. With glide wax. And an iron. And for alpine touring, it works a total treat.
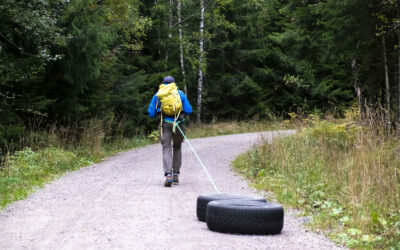
Tyre training
Get started with tyre training – the best way to prepare for an expedition or the coming ski season.

Ten tips for a better experience with skins
Skins open the door to wonderful experiences in nature. When they fail, though, it’s very frustrating. Luckily, with proper treatment, storage, and a few tricks, your skins will last forever and won’t let you down when you need them.

What’s inside your skis?
What are the skis made of? How are they made? What sets Åsnes apart? Here’s that guide to the inside of our skis you were looking for!