Being able to set up a tent in all weather conditions is an exemplary skill. You don’t have to do it in extreme wind. Just do it over and over, until you can do it with your eyes closed. And then with gloves or mittens on. If you’re two people who usually travel together, then practice together; divide the tasks between you so that the next time you pitch a tent in the field the order and routine is automatic. This is practical dorkery at its best.
Ready the ground
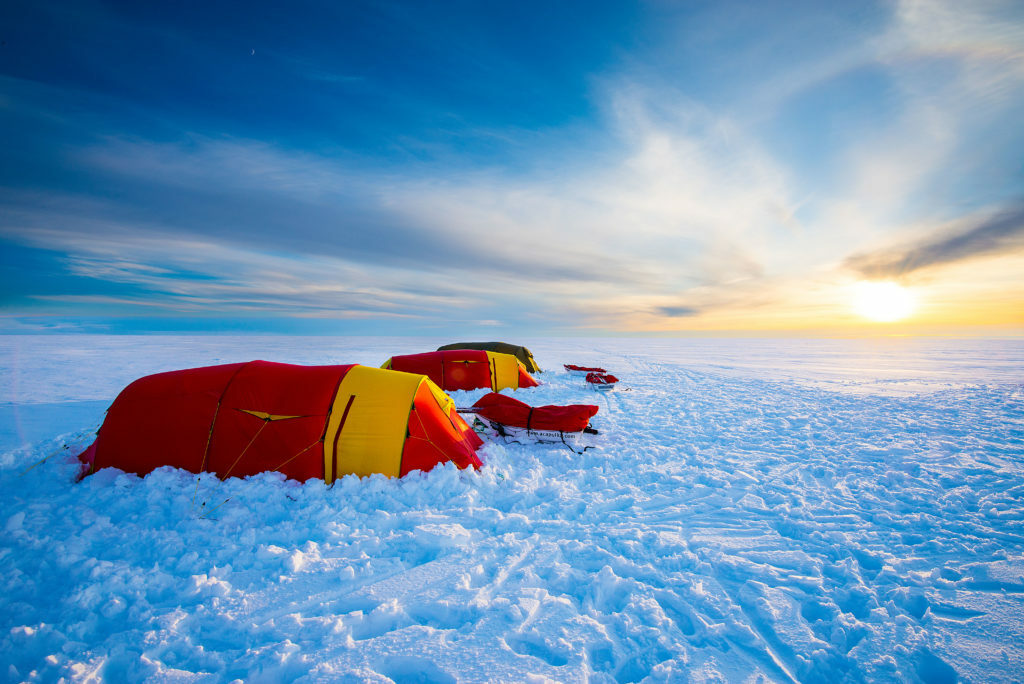
Choosing a good place to pitch a tent is basically instinctive. We generally know – in the lee of the wind, flat under the groundsheet, dry.
In the winter, it’s essential to think about somewhere safe from avalanche. Maybe access to good snow for making blocks, or running water. Avoid narrow valleys, windswept knolls, mountain passes and other places where the wind might be focussed. What looks like an inviting, sheltered campsite can quickly turn into a drift of snow. Also remember that snow collected on the branches of trees can also fall down – it may seem tempting to pitch in a sheltered stand of trees, but you can quickly get a surprise from above.
Before starting to pitch your tent, it’s a good idea to trample down the snow on the site, preferably with skis on. The area should be a few square meters larger than the tent itself, so that you have room to move and work.
It can also be a good idea to assemble much of the tent before you move it into your “parking space”, so that you can preserve the nice and even surface you’ve made for it..

Christian Iversen Styve
Adventurer, polar guide and photographerHOT TIP Find a tent site with a nice view not too far from water or other necessities. Use the terrain smartly – it’s worth a few minutes to shield yourself from the elements.
Consider the wind
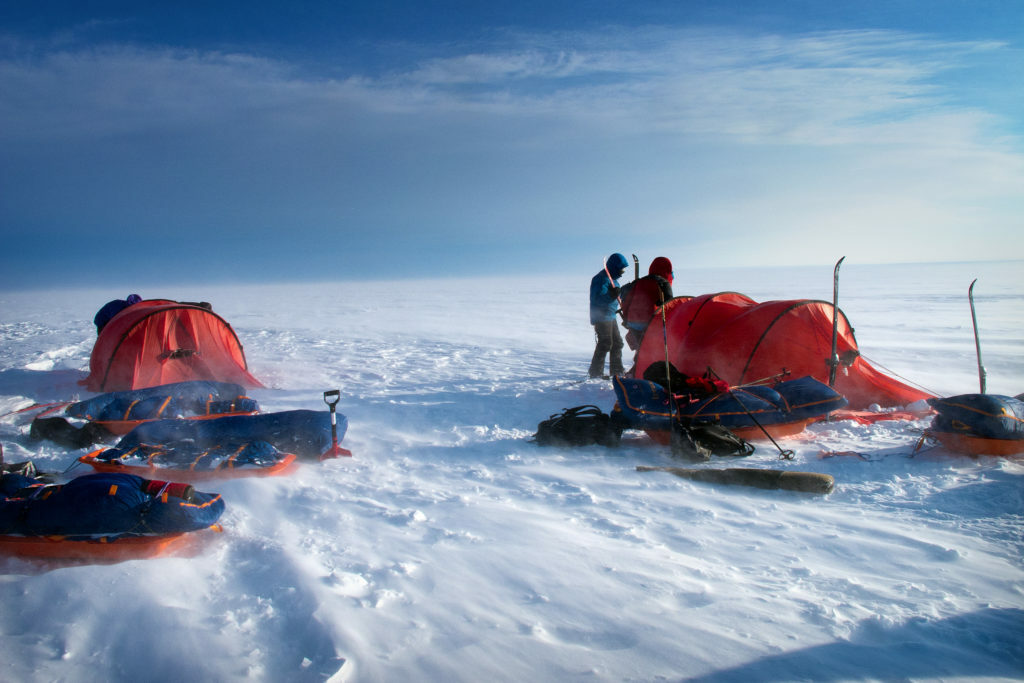
First and foremost, it makes sense to find a tent site as well sheltered from the wind as possible, if shelter’s an option.
There are, of course, tents of many different kinds. Traditional tunnel tents have many advantages, but you should pay extra attention to which way you pitch the tent. You want the smallest face against the wind. A tunnel tent doesn’t like crosswind on the long face very well.
Dome tents are preferred by many, including some of the Åsnes panel, because they can generally withstand a lot of wind from all directions.
Storm protection
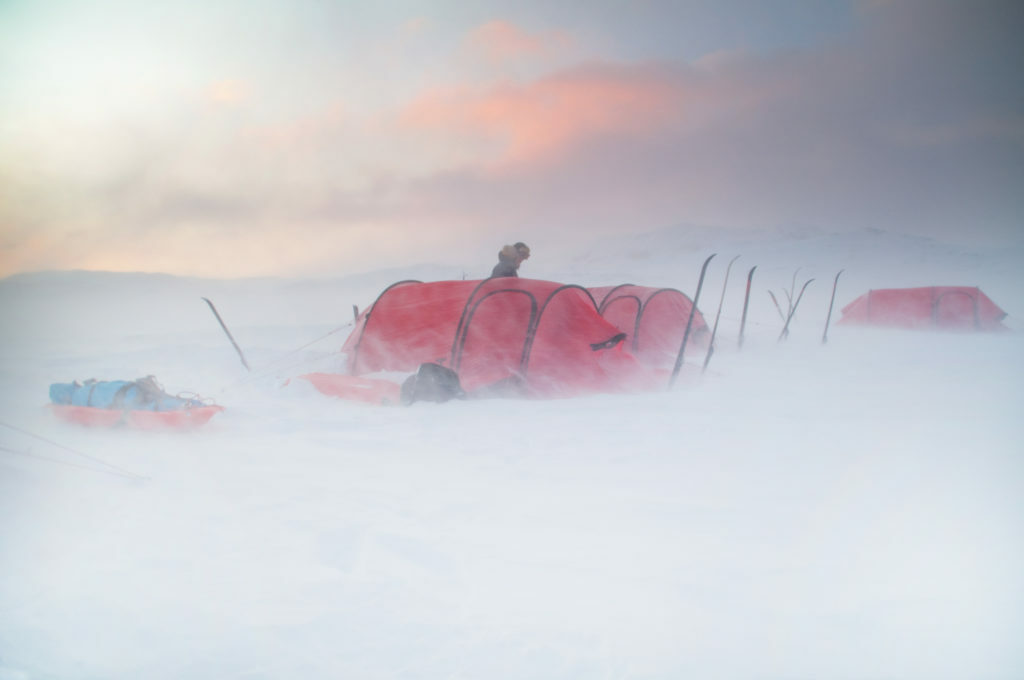
Strong winds and gusts can quickly become a challenge. Especially when snow’s also blown up with it and you notice it flapping about in the fly sheet. Securing the tent is crucial in deciding whether you get a good night’s rest after enjoying the pleasure of listening to the night sounds, or whether you have a tiring night.
Guy ropes – the more the better!
Good tents have well-thought-out guy rope attachments and plenty of guy ropes. And not without reason. On a good winter tent, you can use absolutely all the guy ropes and secure the tent well against the wind from all directions. Take the time to peg them all out. It’s better to overdo it. The other alternative is saving your tent in the middle of the night when the storm hits.
In winter, you can use large snow-pegs, skis, snow anchors and other aids to anchor the tent. Fix the guy ropes as close to the ground as possible, and place the skis into the snow at an angle of around 45°–50°. Make sure that the steel edges of the skis are turned inwards towards the tent, so that the guy ropes won’t be cut by the sharp edges. Poles can also be used to buttress the tent. Stick them into the snow by the handle.
You can pack snow about the skis, poles and pegs and let it sit. It can set like concrete after an hour or so. Feel free to use a shovel. The shovel can also be used to dig out poles and pegs when it’s time to pack the tent. These can really get stuck.
Windbreak
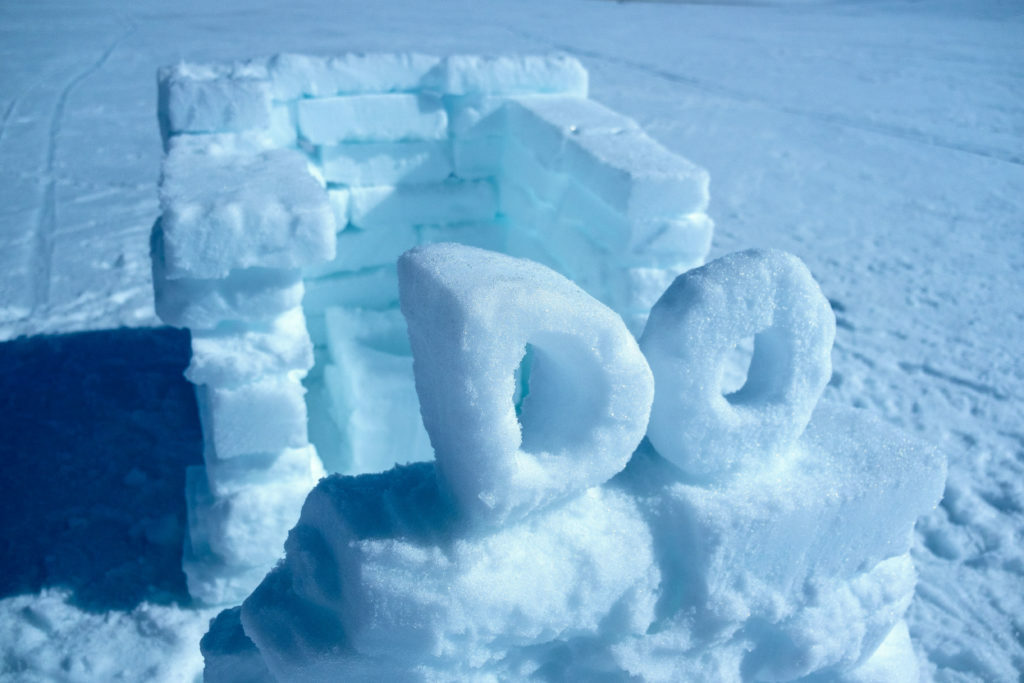
If you want to properly secure the tent site because you find yourself in, or expect, stormy weather, it’s worth considering building a windbreak. A wall of snow blocks will protect the tent from snow and wind.
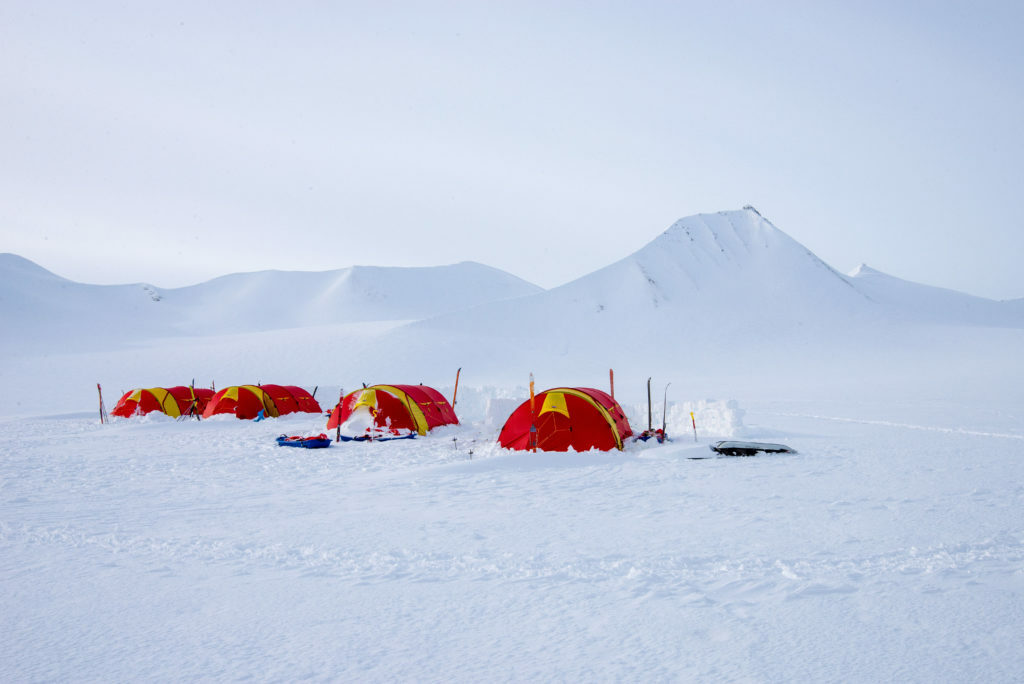
Cut out snow blocks with a shovel, saw, ski or whatever you have to hand. Then build a strong wall of snow blocks, preferably 30–50cm or higher than the tent. Make the wall slightly at an angle, the point away from the tent. Also make sure to keep it some 1.5 meters away from the tent: there may be a wind “backwash” depositing snow behind the wall.
A solid wall takes about 45 minutes to build, maybe less if there are a few of you. It usually takes some time to build a wall. So both consider if it’ll be necessary and plan the job in advance.
A good windbreak not only protects from the wind, it also means that the wind makes less noise; minimum flapping fly sheet. In addition, the windbreak provides good shelter. The shelter provided by the windbreak is a good place to build a toilet. If you’re going to camp in the same place for a long time, for example if you’re stranded because of the weather, then it makes a lot of sense to build a nice, solid windbreak.
Toilet
You don’t need to make a luxury toilet like the one in the picture. But building walls for protection and privacy is something most will appreciate on a long trip. Especially when outdoors is pretty inhospitable. And we can say with certainty that most people prefer a bit of peace and privacy when doing what they need to do.
Not least because it’s nice to have a dedicated space for that sort of thing, preventing a minefield of human waste around the camp.
When you leave the site, you can just knock down the walls and bury everything deep. But if it’s practical, the same protocol applies as with the dog: pick up after yourself if you can. Always leave as little waste as possible when you’re out in the wilds.
Creating a deluxe snow-loo on a trip is a nice team-building activity. Once it’s finished, it’s a nice spot to read a book, listen to some music, and just take in the view while you do what must be done. There are worse places.
Snow skirts
Our position is that is that tent skirts aren’t necessary in the forest. They’re good to have on the high plateau in winter, on the other hand. Some tent-makers make winter tents without skirts; dome tents without skirts do the job nicely as long as you know what you are doing. In Norway, it’s fair to say that skirts are popular, but that doesn’t mean that other solutions don’t work. It’s a question of knowing how to make the best of what you have.
For many, snow skirts are a must. They do, clearly, make things a little easy on the vidda (high mountain plateau). There are both split skirt and full-coverage skirts. Both are very useful.
Snow skirts are dug into the snow and covered. In this way, the tent’s anchored more securely and snow doesn’t collect between the fly and the inner tent. If there’s enough snow, you can stack blocks of snow on the skirt; this is a tent that will be going absolutely nowhere.

Ventilation
Ventilation is vital in a tent, no matter what kind of camping you’re doing. If you fire up the primus inside, or if you dry clothes inside the tent in grim weather or have a skirted tent, ventilation is more important still. The chief threat is carbon monoxide poisoning; the chief inconvenience is interior condensation (no one likes damp socks, at best; at worst, you can get cold very quickly in a damp tent).
Many tents are designed so that air circulates nicely underneath. But when tents are packed in snow in winter with buried skirts, ventilation can become a little more tricky. That’s why good winter tents have ventilation hatches quite high up on the walls where they can’t be blocked by snow. Many choose to sew extra vents on their tent.

Crister Næss
Ski guide and gear-dorkHOT TIPS Remember that the doors to the inner and outer tent can also be used for extra ventilation, if conditions allow it. On winter trips and expeditions, vents should be open when you light a fire inside the tent. Otherwise, open the doors regularly.
Kitchen pit/ cold sink
Tents never seem to be big enough. To make maximum use of the space, you can exploit the depth of the snow to make a small “cellar”. A good chef’s pit in the awning is a pretty luxurious way to solve real practical problems.
The assumption is that a pit serves to “drain” cold air. While the effect’s open to debate, in our experience it seems to work, affording some extra warmth in the inner tent and a good space to work in.
Dig a square pit, and make a small kitchen bench under the outer awning. Make sure you don’t dig all the way out to the wall of the tent – it’ll let the wind sneak in. You can also create different shelf solutions for equipment, ski boots as well as a bench for the chef. The only limit is your imagination (a fridge shouldn’t be to difficult).
The depth of the pit depends a little on your snow. Some people want to stand or sit in the kitchen; others like to kneel. A good depth can be useful, providing space for dressing, packing, and cooking.
Breaking camp – “things take time”
«Ting tar tid», as we say in Norway. Things take time: TTT. It’s true. When it’s cold, stormy, or you’re out with a large party: TTT. It can take up to two hours before you’re fully packed and ready to leave the camp in winter. This varies with the experience of the group, the number in the party, and the cold and snow.
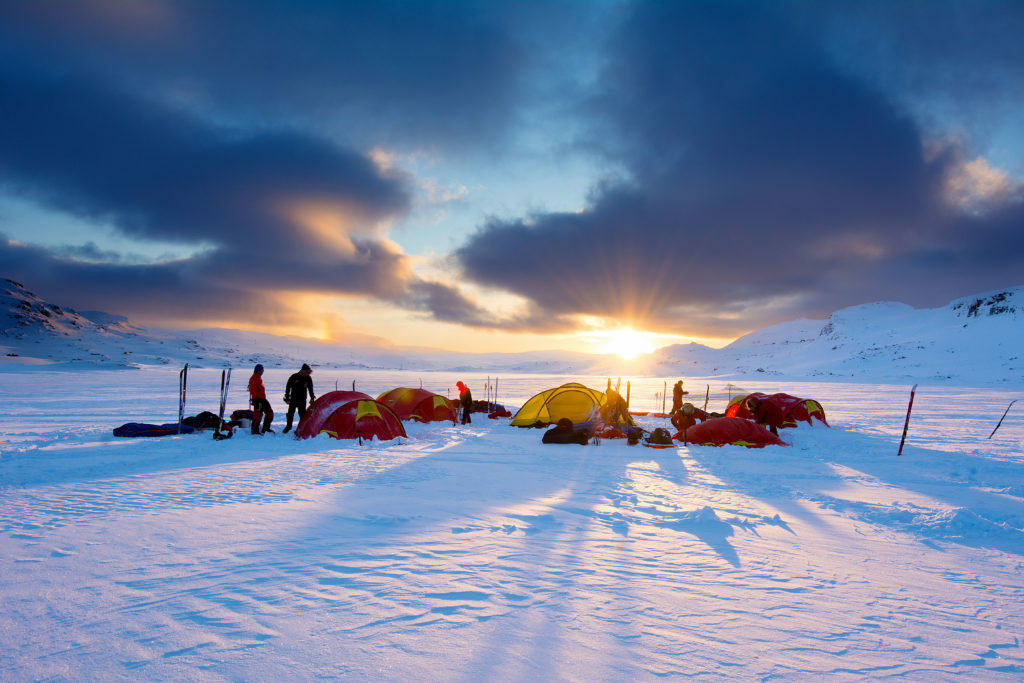
It’s a really good idea to practice a bit in advance so you have some idea of how long it’ll take. Then you can agree on a departure time for the whole group; that way everyone can work towards being ready by a given time – and no one has to wait for anyone else. It’s also important that everyone works together when making camp, breaking camp, and other tasks that benefit the group.
When packing things in the pulk, packing the tent and or breaking camp, it’s important to check equipment. It’s also important not to strike the camp in a hurry to stave off minor gear disasters. You really want equipment, especially the tents, to be free of snow and ice. Also make sure that zips on tents and rucksacks are closed, the guy ropes aren’t spaghettified, and that making camp next time isn’t going to require untying knots and looking for things in the wrong place.
IMPORTANT: Be sure to pick up your rubbish, fill snow pits, tear down windbreaks, and cover the yellow snow. ALL your rubbish has to go home with you.

Equipment tips for Expedition Amundsen
If you’ve signed up for the “world’s hardest expedition race” then you know it’s seriously demanding. Meticulous preparation is absolutely required if you’re going to make it to the finish line at all. This includes making the right choices about equipment. So here’s our guide to help.

How to feed a hunting dog
Correct nutrition is the alpha and omega for a healthy, strong and happy hunting dog performing to its limits day after day in the mountains. A well-trained hunting dog can quickly cover more than 60 km in hilly terrain, marshes and woods. So if you’re out for a number of days, feeding is everything.

Training for multi-day tours and expeditions
Generally speaking, there’s no such things as being in “too-good shape” for a long tour. You really want to be in the best shape possible before you set off…
Storing skis until next season
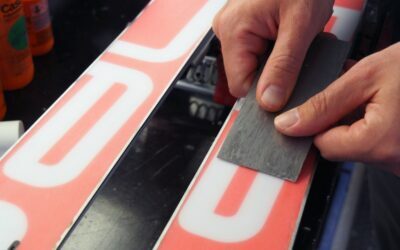
Putting your skis to bed for the summer, clean and protected, is a chore, but it’s got to be done. It’s more than worth it. Here we break down the basics. Your skis will thank you. Actually, you’ll thank yourself come the first snow – for all sorts of reasons…

Packing a pulk
A quick introduction to packing a pulk. And a few words about the wonderful combination of pulk and skins. We’re having fun in pack-a-pulk-o!

Dressing for adventure: what to wear in the wild
Norwegian grandmothers have it right: always wear wool against the skin. Beginning with wool as the first layer, the three-layer principle applies. Step this way for a guide to wrapping up warm in the wild.