From ski-slob to ski-snob
If you’re among the many who throw their skis straight into the garage after the Easter holidays, we’re still friends. But allow us to show you another way. Your skis will love you. In fact, come winter again, you’ll love yourself.Take a few minutes to go over your skis before you put them away for the summer. No, seriously. It’s worth it!From time to time, sports shops, ski workshops, and even we at Åsnes, find ourselves handling skis that haven’t been maintained especially well. For the record, it hurts us in our souls. This creates problems in the long run. To avoid a hefty bill for cleaning the skis in a ski workshop, we recommend, at least, removing old wax before your put your skis to bed for the summer. A few moments work on your skis at the end of the season will save you a lot of work later. Your skis will last longer. It’s just a question of a little cleaning, some little fixes if they need it, and some storage wax. Come winter, it’ll all be so much easier!
What to do with your skis at the end of the season!
Here’s a checklist of six simple things you should do before you stick your skis away.
1. Goodbye, leftover goo
Clean, scrape and dry. Give your skis some love. You really don’t want to arrive at the trailhead with old wax under the skis. If the skis are full of old wax, klister and pine needles from the Easter before – then you should clean, scrape, and dry them with Fiberlene cleaning paper and base cleaner. No matter what type of ski you have, get rid of residue from the season just gone before you put them away. Toilet paper can get pretty sticky. Fiberlene’s good for here – it doesn’t disintegrate when it comes into contact with the cleaning agent. If you take care of this the moment season’s over, it’s so much nicer to pick up your skis again when the snow comes. It’s not as if you can get away with not doing it, and this way you can avoid having to take your skis to the workshop for a dose of industrial cleaner and sanding…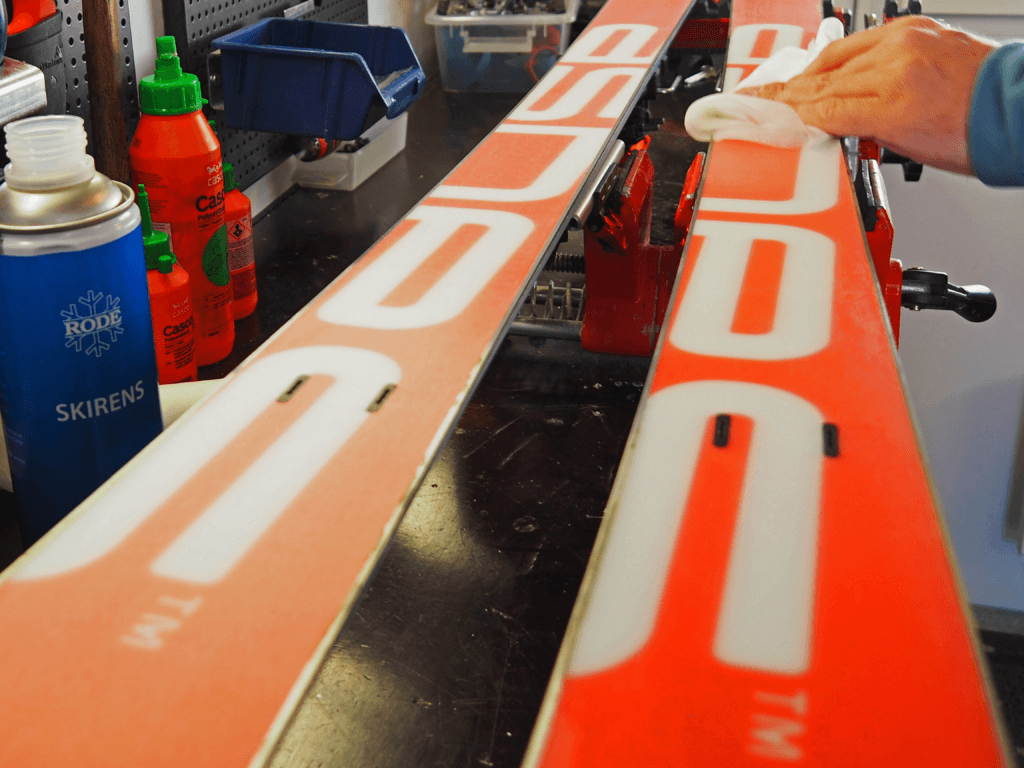
Clean and polish. Show your skis some love. Get them as nice as the skis in the picture above.
2. Ski inspection
After a long season, both the base and the steel edges have probably taken a bit of a beating. It therefore pays to give the skis a quick once-over before you consign them to the shed. Again this means less work when you take them back out come winter. Skis are the best. Show them you care.
Gently buff out gouges
Thin layers of glide wax are less work. It’s easier to put glide wax down in two passes rather than having to scrape and brush off very thick layers. You also saturate the sole more deeply this way. Use a glide wax for cool conditions: harder glide wax works in the warm better than soft glide wax in the cold. Harder glide wax is also more durable. If you wish, you can “top off” the glide wax during the season with glide wax appropriate to the conditions.
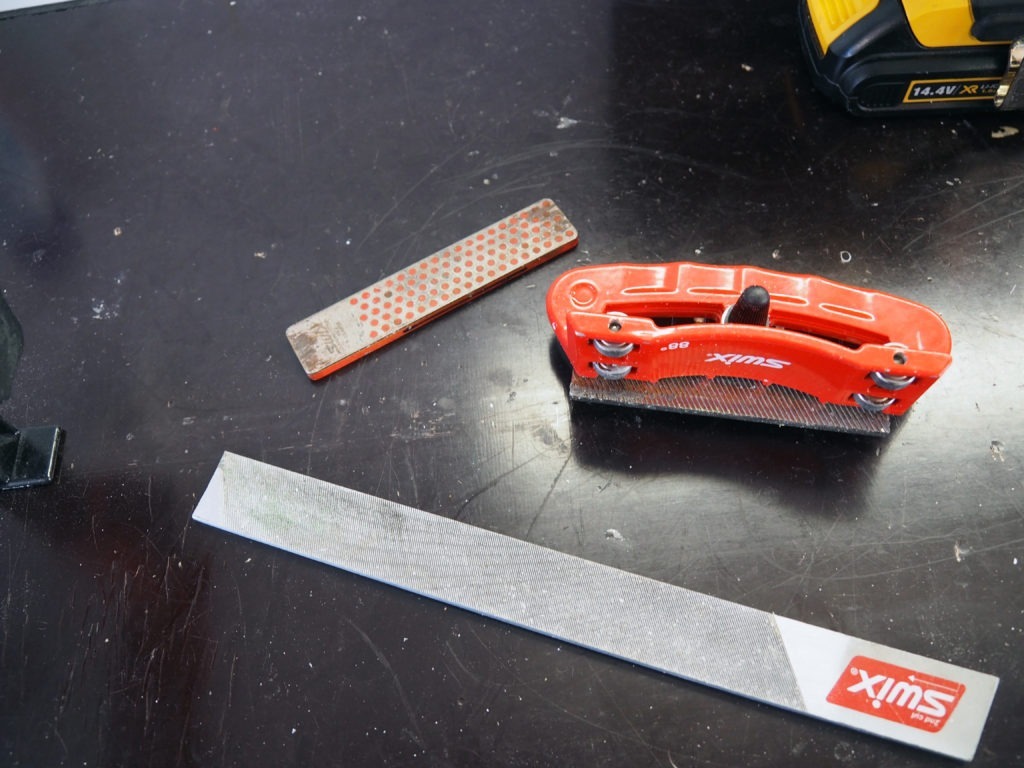
With a diamond whetstone and a file, you can quickly refresh steel edges
There’s no point in spending all that money on skis if the first ski of the year is on dry, degraded, soles. After the last tour of the season, it’s a matter of moments to apply some storage wax. The exact one isn’t crucial. We naturally encourage you to avoid flouro wax. Swix CH 10 or CH 8 are perfectly adequate. Don’t take it off! Sticking your skis in the shed without covering the soles means, you’ll find your nice black soles are grew when you fish them out again. When we see bases like this, we usually have to stone grind them to get them shiny again. We often use the purple CH7 as a nice all-round wax. It works well in many conditions, and does the job nicely. The most important thing is to apply a wax to protect it from off-season ski injuries and to prevent the sole from drying out completely. If your bases look really grim when the clocks go back, and a Fibretex pad won’t bring them back to shiny black life, take them for a full service at a sports shop or a ski workshop. You may as well get the edges done with the sole; ask to have them back waxed.3. Bindings
Cross-country ski bindings don’t need any special attention. Wipe them down; get rid of any stray gobbets of wax or klister. Alpine bindings and other adjustable bindings can be given a good wipe to removed grit and other sundry goo, before applying a little new lube where it’s needed. It shouldn’t be hard to see where the lube’s gone before. On all downhill-focused bindings today, except for the very lightest, there’s a mechanism releasing boots in the event of a fall or a large rotation. This trigger mechanism is spring-loaded and adjusted according to the weight, the length of the sole and the height of the skier. It may be wise to slacken the springs when your skis aren’t going to be used for a while. Simply to be sure that the springs aren’t always at maximum tension, which may weaken them over time. You should also set typical tech bindings in downhill mode for the same reason – so that the springs on the toe binding aren’t tensed. It’s easy to overlook this sort of thing, even for the best of us.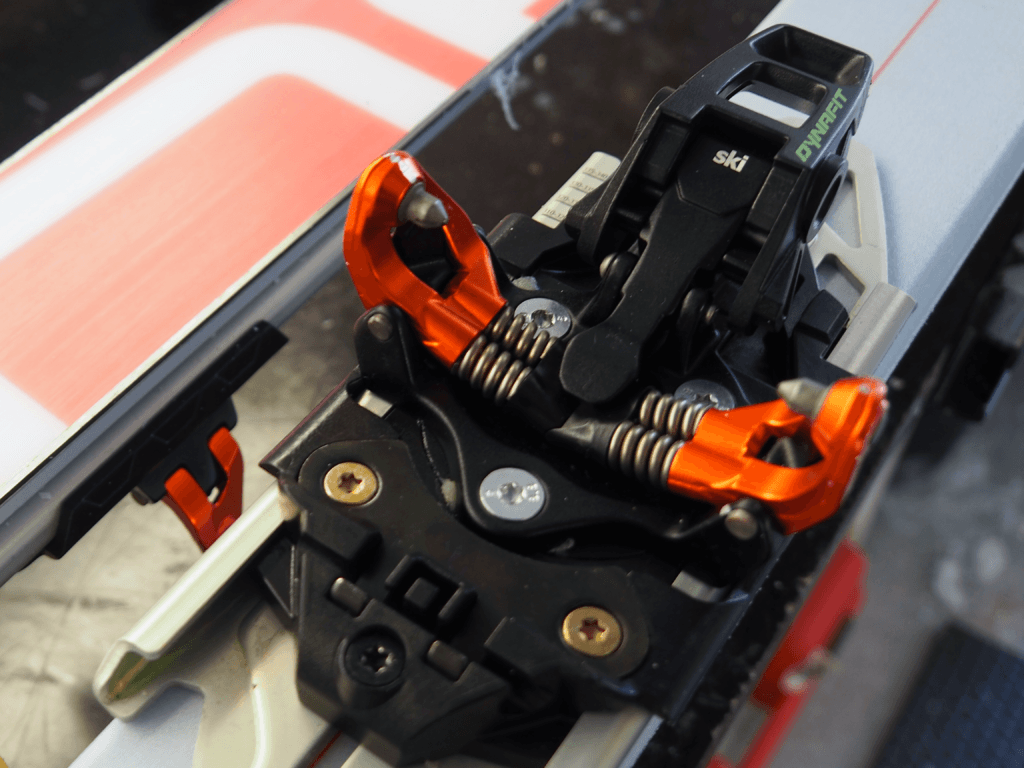
Tech-bindings put ini “ski” mode to relieve the springs
4. Poles and boots
If you have plastic boots (rando or alpine boots), it’s a good idea to take out the liners and let them dry properly. You might want to go over all screws, tighten them nicely, and maybe add a drop or two of Loctite to keep them sitting where they should. Get the shell clean if you need to. Then put the liners back into the shell and tighten the buckles as you would when skiing. Actually this is a pretty good thing to do to keep them in shape. No one likes a flabby boot. As for cross-country boots, they like a clean and dry. And more than that, they like to be impregnated. This prevents the uppers from drying out and cracking; it’s actually important to do this, given that the leathers spend so much time getting cold, the snow melting, and then getting cold enough. It significantly extends the life of the shoes.5. Avalanche beacon (transceiver)
Take the batteries out over the summer!
Don’t forget to take the batteries out over the summer! Ours always end up in a head lamp. Unused batteries leak acid. This can get into the circuitboard very easily, which is precisely something to avoid in a piece of gear that can literally save your life. You should always start the new season with new batteries, anyway. In season, the lower limit for the battery life should 60–80% or even more.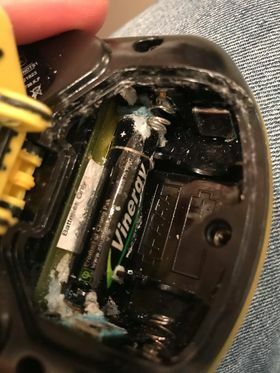
What can happen if you forget to take out your batteriese…
6. Skins
Clean your skins. Skin cleaner’s good for this. Remove dirt and trail goo and allow the skins to dry properly at room temperature. If necessary, give the adhesive a once-over: remove pine needles and grit from last spring ski trip. If the adhesive is on its last legs, it’s good idea to apply fresh, new glue before storing the skins for the summer. Then you’re ready to get going the second there’s enough cover. If you’re truly smart, impregnate your skins with wax before you hide them away. Iceless, gliding skins for the notoriously heavy first weeks of the season are to be prized! Many skins come with an storage mesh. It’s mostly not necessary to use this during the season, but it’s a good idea to use it for skin-storage. Then you can avoid the skins sticking together too well. Stick them in a bad and store them in a dark, cool, place.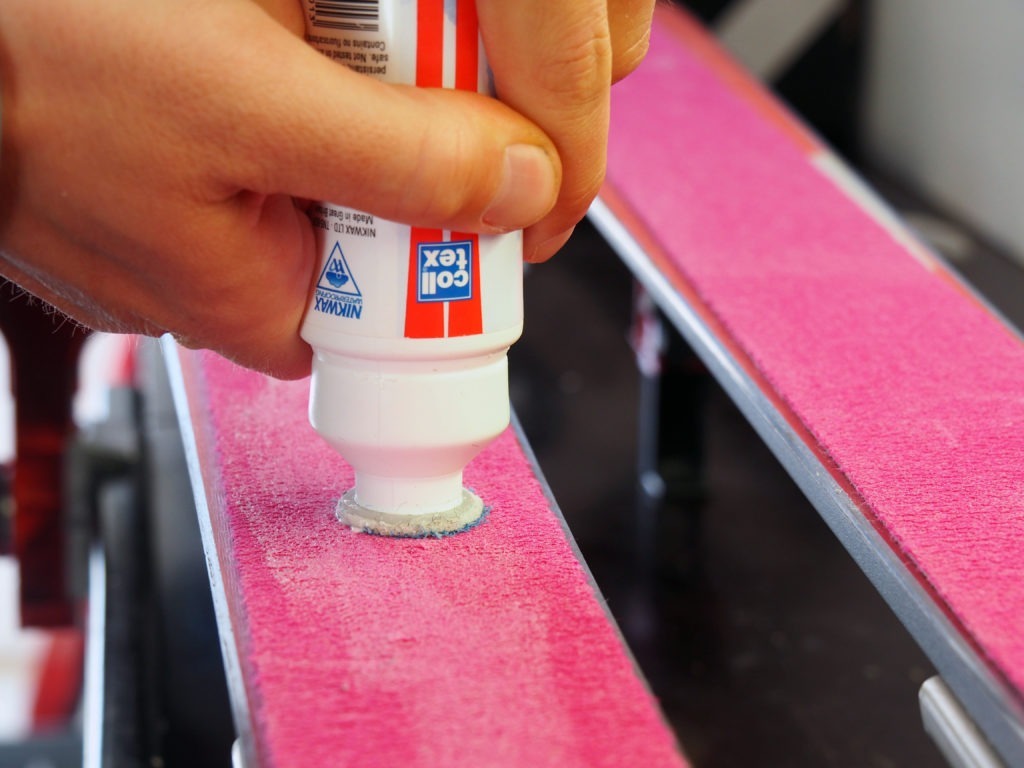

How to feed a hunting dog
Correct nutrition is the alpha and omega for a healthy, strong and happy hunting dog performing to its limits day after day in the mountains. A well-trained hunting dog can quickly cover more than 60 km in hilly terrain, marshes and woods. So if you’re out for a number of days, feeding is everything.

Ten tips for a better experience with skins
Skins open the door to wonderful experiences in nature. When they fail, though, it’s very frustrating. Luckily, with proper treatment, storage, and a few tricks, your skins will last forever and won’t let you down when you need them.

Using nature in Norway – like a Norwegian
Norway’s guarantee of the right to roam is a cherished part of our national identity.
But even though you’re free to move about throughout the country, there are still laws and regulations that must be respected.
Hot waxing skins
Hot waxing skins? Yes. That’s right. The rumours are true: you can wax skins. With glide wax. And an iron. And for alpine touring, it works a total treat.
Menstruating on skis
Periods. Because we menstruate in winter too. Stomach cramps while overnighting in the wild aren’t often discussed – which means they ought to be. So curl up with some ibuprofen and a glass of water for some good tips for menstruating in the winter mountains.
The NFSA guidance for outdoor dogs
The Norwegian Food Safety Authority (NFSA)’s rules for keeping dogs outdoors, and for interacting with dogs, is useful for adults and children alike.