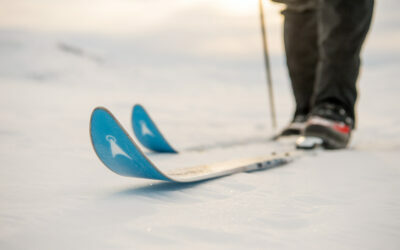
Backcountry skis in a bind
We pay plumbers and electricians a lot. This is largely because we’re more likely to flood the downstairs neighbours or electrocute ourselves than they are. Some things are just better done by pros, and installing bindings on fjellski – as we call cross-country skis built for breaking trail in Norway – are considered by most to be one of those things. There’s a lot to go wrong. Voiding your warranty is just the start of it; failing to seal the holes after pre-drilling properly, using the wrong template, mounting crookedly – maybe it’s best to make some things someone else’s problem. But if you’ve read this far, you’re probably thinking of doing it anyway. And we’re certainly not going to stop you. Read on.
Choosing bindings
So many choices. NNN BC? 75mm? Xplore? What about cables? Learn about the options!

Find the balance point
The first thing to do is to find the balance point. This is found, of course, by balancing the ski. Put the ski on the edge of a ruler, the back of a knife, or a right angle, and then find the point where the ski’s completely balanced by itself. Mark it with a pen or pencil. This must be done on both skis; there may be slight differences between them. If the skis have different balance points, mark a point equidistant between the two points on each ski: this is the average balance point you’ll will be working from for the next step (you need the bindings mounted in the same place on each ski, even if the balance point isn’t identical; this is a perfectly acceptable compromise).
Once you’ve found and marked the balance point, you can use a mounting jig or a paper template to measure where to drill the holes.
The right glue – PU
On Åsnes skis, use a single-component, solvent-free polyurethane glue in the screw holes when mounting bindings. PU glue was developed to be a universal adhesive for gluing wood to materials such as metal, plastic, rubber, and wood. It hardens with the help of humidity, moisture in the material, and the materials being glued together. The bond can actually be strengthened if you spray it lightly with water before mounting the bindings. PU also expands during the curing process, which makes it particularly suitable for sealing the pre-drilled holes bindings are screwed into.

Grunnlaget for vår anbefaling av lim
Tests and the extensive experience we’ve gained from all the skis we’ve supplied for expeditions, hard mountain use and NATO forces, confirm that polyurethane glue (PU) works much better than ordinary wood glue. Its composition is also resistant to water. If you unscrew bindings from an old ski, you typically see screw holes brown with rot and red with rust thanks to poor sealing. You want to avoid this; it’s is essential to prevent water such as melting snow penetrating the wooden interior, which can damage the flex and torsional properties of the construction irreparably. If the principle purpose of the glue is to bind the bindings, PU glue’s good: it’s been shown to have a capacity for holding screws in the skis some 20% stronger than comparable glues.
Drilling the holes
For drilling, we use a 3.6mm x 9mm bit, with a good-sized lip to stop them going too deep, made for mounting ski bindings. Suppliers such as Wintersteiger, Rottefella, Montana, among others, make bits like these for specialised ski workshops.

Use a mounting jig
We always recommend using a drilling jig when pre-drilling holes for the binding screws. It’s safer. Always check that the drill’s position follows the recommendations of the binding manufacturer and the ski company before you drill.

Photo: Rottefella
Check the screws that come with the binding
Before you drill and screw the binding onto the skis, it’s important to check that the screws that come with the binding are correct and that they aren’t, for example, too long. On children’s skis and shorter skis, especially, you should be very careful to check the length. If you screw a screw through a ski, it’s your responsibility!
Tightening the binding
Tighten the binding to the ski by hand or with a low torque on the drill. Always finish tightening by hand. You want the screws flush and no more – certainly not twisting freely.
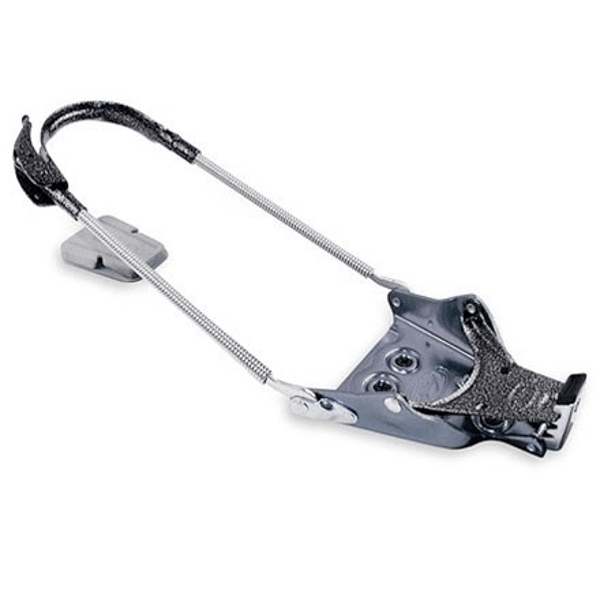
Rottefella bindings
Voilé bindings

Tailoring long skins for alpine touring
Wondering how to tailor your skins for alpine touring? Here’s an overview – care and trimming long skins for touring skis.
Choosing bindings for cross-country BC skis
Not certain which bindings choose for cross-country skiing in the backcounty? Confused by the difference between NNN-BC or 75mm bindings? Cable-curious? Find all the answers here!
What’s inside your skis?
What are the skis made of? How are they made? What sets Åsnes apart? Here’s that guide to the inside of our skis you were looking for!

Waxing and prepping alpine touring skis
We don’t put in all that effort just for the view. We do it for the way down. So let’s talk about glide wax. It provides better glide, protects the sole from wear. The specific wax, even how carefully you do the work, isn’t really so important – it’s not a race. And it doesn’t have to be complicated at all…
What are carbon skis really?
Is there really any such a thing as a “carbon ski”? Well… no. We explain why – and what carbon and fiberglass actually mean to ski construction.
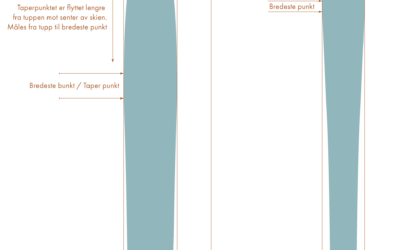
Rocker, nordic rocker, taper and sidecut
Reading the specs, we read about rocker, nordic rocker, taper, and sidecut. If you don’t know what these things are, or what effect they have on the properties of your skis, read on as we break it down…