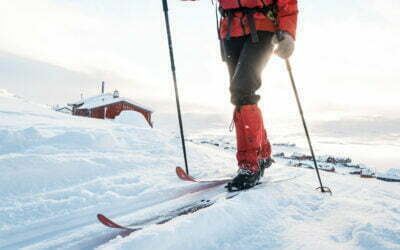
Wax your ski-wigs
Wait. What. You mean – deliberately melt wax into the skin? Like… glide wax? Won’t they melt? What’s wrong with that two-coloured wax stick that lives in the breast pocket of my GoreTex shell? Well, gather round as we spill the secret to rapid ascents. And, no, it’s not intravenous coffee or being gene-spliced with sea mammals that can hold their breath for an hour. Many experienced rando-racers, ski guides and summit-hungry skidorks like the rest of us simply wax their skins in the same way they do their skis. It improves glide. It prevents icing up. It protects your skins. Yes, many skiers carry small blocks of wax to crayon on to the skin to prevent them icing up. This works; out in the field it can save the day. But hot waxing in preparation for a tour is much more effective and gives better performance. Rando-racers and national teams wax their skins for better glide. And there’s no serious reason why the rest of shouldn’t either. Less ice. Better glide. We all deserve this. So let’s get into the details.Here are the details
Enjoy your freshly prepared, fast, hardy, non-stick skins – and don’t keep the good news to yourself!
Packing a pulk
A quick introduction to packing a pulk. And a few words about the wonderful combination of pulk and skins. We’re having fun in pack-a-pulk-o!

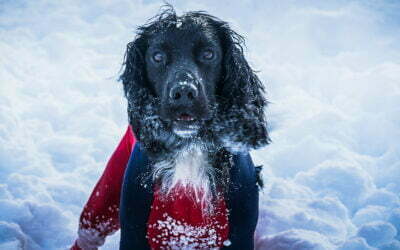
Tips for taking a dog into the wilds
Positive training and positive experiences in the outdoors make for a confident dog. But setting out in winter is something a little different – especially if you’re overnighting. So we’ve put together some good rules, tips and tricks to make the experience the best it can be. There’s nothing to prevent these tips being applied in your everyday life with your dog, either!
Boots for cross-country skiing in the backcountry
Nothing ruins the skiing experience as effectively as foot-related woe. Blisters. Wet socks. Sore arches. These things are the enemy. Good ski boots are incomparable – cherish yours once you’ve found them. Here’s a guide to help you find them.

Five tips for hitting the slopes with skins!
Five rules for skinning up a mountain safely and enjoyably. A truly competent, experienced ski guide would probably say there should be about twenty. We’re sticking to five get this true wisdom to stick! Consider these rules the basic pillars of laying down ski tracks right – a checklist of things to remember the next time you point your skis to the peak.
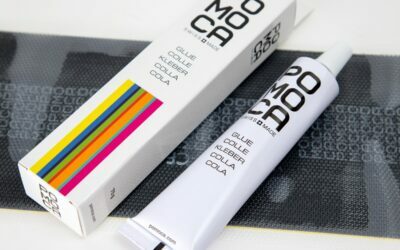
Replacing and renewing glue on skins
Unfortunately, skin glue doesn’t last forever. The skin itself, on the other hand, only gets better and better until it wears out. So if you replace the old glue, your skins can last many years. Moribund glue can be replaced, either with tape or sheets, or from a tube. We explain how.
Clothes for dogs in the cold
When it gets cold, spare a thought for you dog. Even dogs with a lot of fur can freeze if they don’t have an insulating undercoat. It doesn’t actually have to be much colder than -5° before many dogs can have problems – but there are still some who think dogs are unfreezeable. Here’s how to make sure they don’t.