Six good reasons to use a pulk on a winter trip
There’re many good reasons to head out with a pulk. Here are the most obvious advantages.
On longer trips, or when it is really cold, it’s uncomfortably heavy, if not completely impossible, to carry all you gear on your back. It’s simply much less effort to drag it behind you in a sled.
Packing a pulk the smart way?
First things first: put the heaviest things at the back. This is often food.
That’s where you want the centre of gravity – as far back as possible. It’s much easier to control the pulk and to get it over the obstacles you might encounter on your way. And in very deep snow, the pulk won’t plough the snow as it would if the centre of gravity was forward.
Be careful with fuel. If you have fuel with you, it’s a good idea to put it in the middle of the sled, preferably with something around to support it. You don’t want it banging about. Also make it a habit to check that the cans are firmly screwed shut (you can never check that too often).
Leaks aren’t very common, if you’re careful, but they do occur. If you want to be extra careful, you might keep on your back, in a rucksack. It doesn’t have to be particularly heavy if you’re not on a long expedition. If there are several people in your party, you can also distribute fuel and equipment so that there’s a pulk with only fuel and equipment and no food. You really don’t want petrol on your food. It can’t be saved!
The key is to create a system that works for you
Organise the rest of your equipment in gear bags. Preferably waterproof ones. It’s nice to have the kitchen equipment in a box, making it easy to move from sled to tent, and which is fine when plonked ont the snow. You can label the gear bags with the contents. Or make it even easier: if write TENT on the bag containing things that go into the tent, you won’t need to think about what goes into the tent and what can be left in the pulk until the next day.
The key is to create a system that works for you, just the way you want it. There’s nothing better than having a proper system in the pulk so that you don’t have to spend a second more than you need to rooting around in it when the weather’s at its worst.
If you’re on a multi-day tour, preparing daily rations is really good practice. You take one bag into the tent with you. In it is dinner and everything you need for the following day until you get back to the tent in the afternoon. This gets round the “one single giant bag with no system” issue.
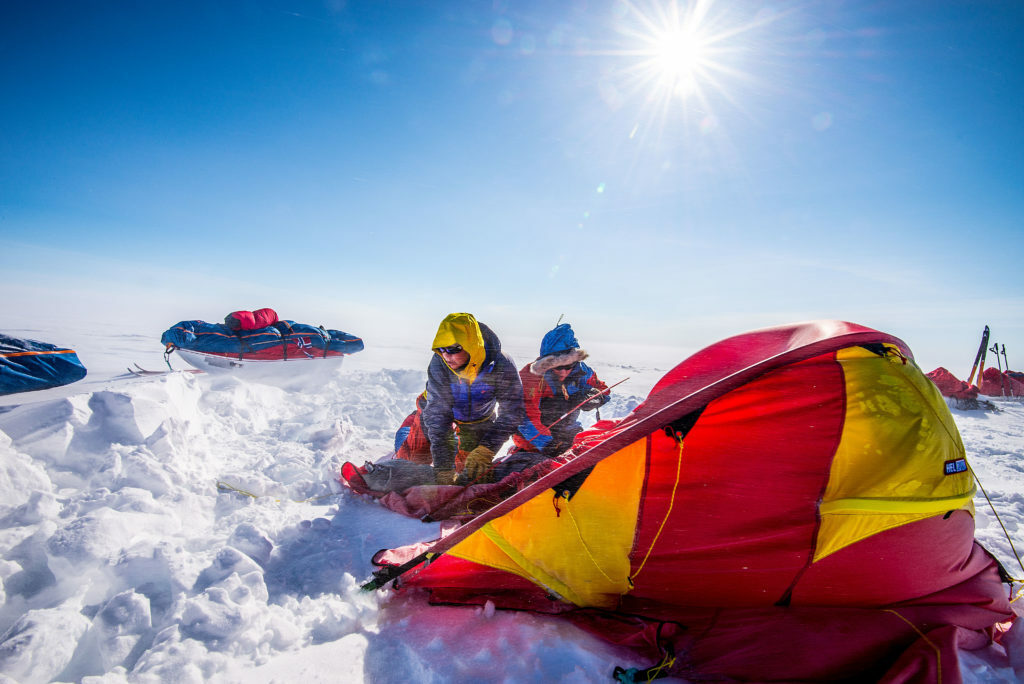
“Arctic Bedding” or a tent bag?
To try the Arctic Bedding system is to love it. Solutions like these, where you transfer your bedding essentials from pulk to tent in seconds, take the organisation of equipment to a new level. They are, perhaps, most often used on slightly longer trips; those of us who’ve been on longer tours know that saving as much time as possible setting up camp is a fantastic thing. And this is where such solutions are worth their weight in gold. They can, however, take up space, and might even add to wind resistance – so pack carefully and consider whether you really need it or not.
Tent bag
The advantage of a tent bag is that the tent can be packed into a large bag almost completely set up. You just take the tent out of the bag, put the poles into the grommets, and stake it out. The tent’s up in minutes, even in very bad weather.
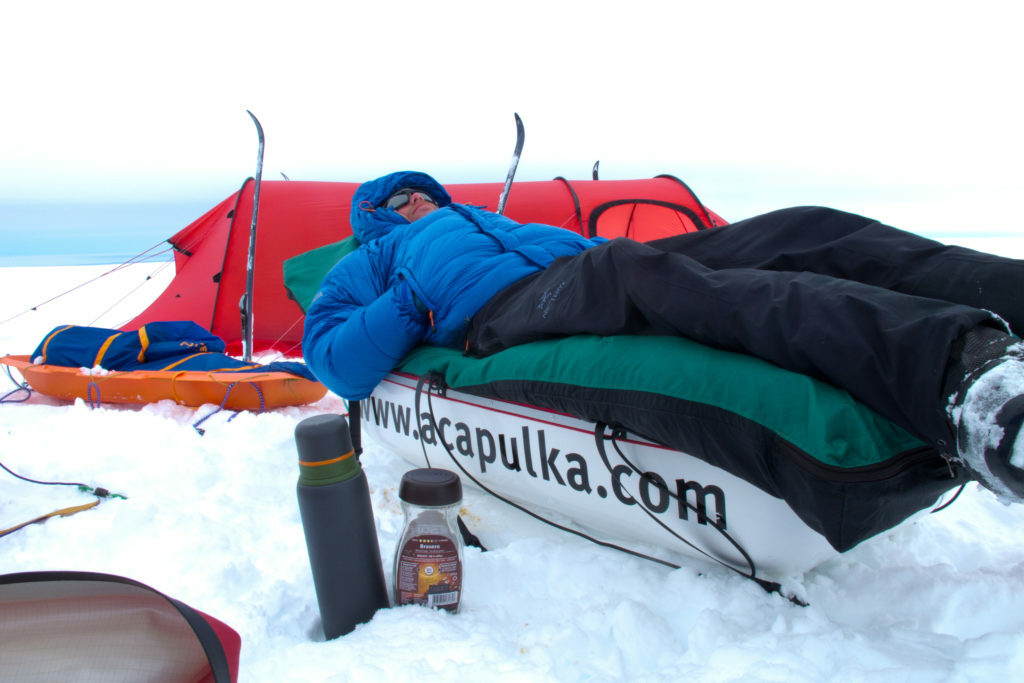
The «Arctic Bedding» system
“Arctic Bedding” is simply a large ventilated but waterproof packing bag for your ready-made bed. You can have a fully inflated winter underlay and sleeping bag lying ready; once you’ve pitched your tent, you throw it in and unfold it. It also has a pocket or two for important things such as a change of clothes, toiletries, a headlamp, and other tent essentials.
It’s good. You can often dry your sleeping bag and mat in the sun during the day, not to mention avoid blowing condensation into the sleeping mat every single day. Great use of a pulk for ease and comfort!
Skins and pulk – a marriage made in heaven
Climbing steep gradients while hauling a heavy load is a real task. When your grip wax begins to lose the battle with gravity and mass, skins are basically indispensable. The confidence that comes with completely dependable grip on the flats and no slipping on the steeps with a load cannot be overstated (it’s actually become standard practice for many of us to leave skins on from the moment we set out to the moment we get back to civilisation).
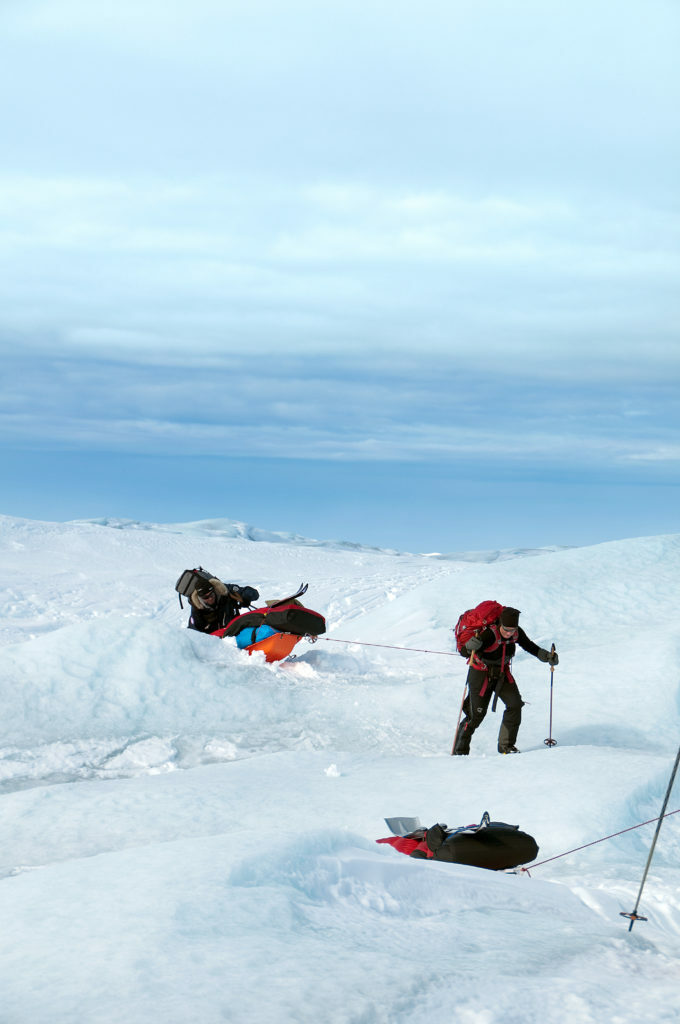
On very steep hills, nylon skins shine. Full-length skins may be appropriate for very heavy loads and steeper gradients. As it gets steeper, or if you’re using short skins, remember that by pulling a pulk, you’ve taken most of the weight from your load on to your body. Your skins are supporting the weight of your body and preventing the pulk behind you from sliding backwards. Many of us find more grip and longer skins necessary.
Pulling a pulk up a serious hill is, without question, a struggle. But don’t condemn the pulk. Consider how difficult it would have been to climb the same terrain with all that weight in a pack on your back.

Five tips for hitting the slopes with skins!
Five rules for skinning up a mountain safely and enjoyably. A truly competent, experienced ski guide would probably say there should be about twenty. We’re sticking to five get this true wisdom to stick! Consider these rules the basic pillars of laying down ski tracks right – a checklist of things to remember the next time you point your skis to the peak.
Which cross-country skis? And how long?
Choosing new cross-country BC skis is can be bewildering. We compare length, width, profile. We weigh ourselves and check again. We ask advice on forums. We change our minds repeatedly. So before you pull the trigger, set your mind at rest by reading this overview. If you’re still unsure, you can talk to the expert in your local specialist shop or contact Åsnes’s customer service – we answer questions the whole time and we can usually help!
Photography on tour
Capturing moments of magic with a camera can add an extra dimension to the tour experience. With a little system and some simple steps, you can become an even better photographer. Here are some tips how.

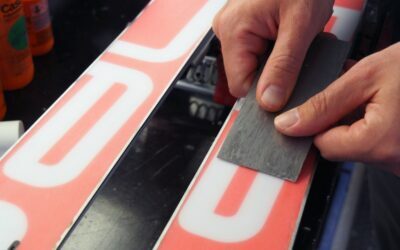
Waxing and prepping alpine touring skis
We don’t put in all that effort just for the view. We do it for the way down. So let’s talk about glide wax. It provides better glide, protects the sole from wear. The specific wax, even how carefully you do the work, isn’t really so important – it’s not a race. And it doesn’t have to be complicated at all…
Storing skis until next season
Putting your skis to bed for the summer, clean and protected, is a chore, but it’s got to be done. It’s more than worth it. Here we break down the basics. Your skis will thank you. Actually, you’ll thank yourself come the first snow – for all sorts of reasons…

Field repair kit
Bringing a repair kit can be very useful, even if you’re not going on a long expedition. Preparation, as always, is never a bad thing.