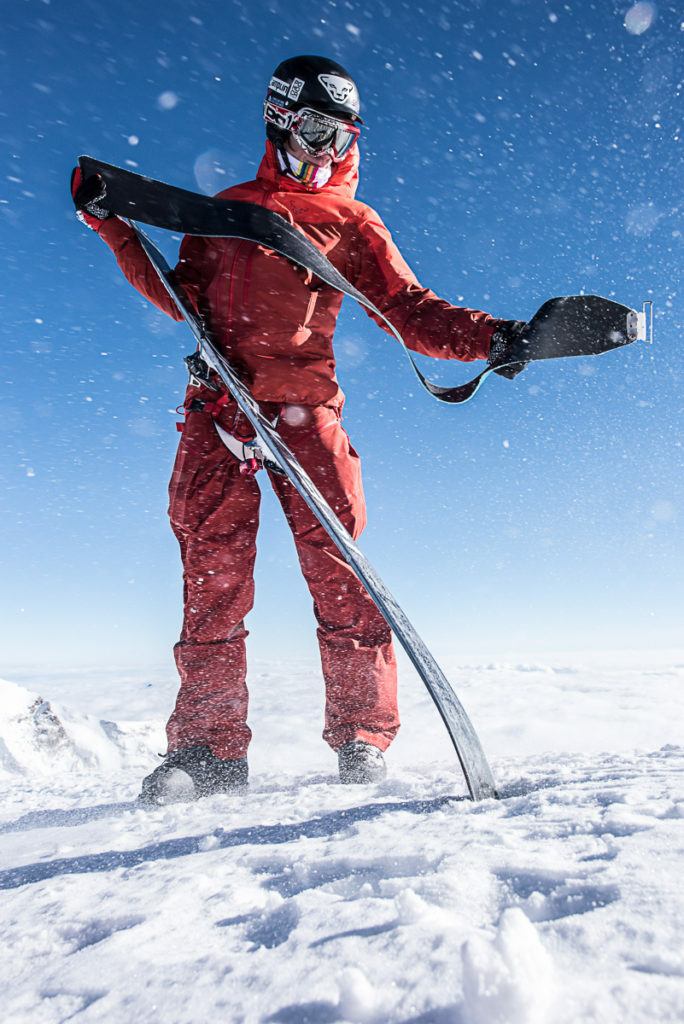
Skins are extremely simple. You attach a strip of material to the soles of your skis. Now you can ski uphill.
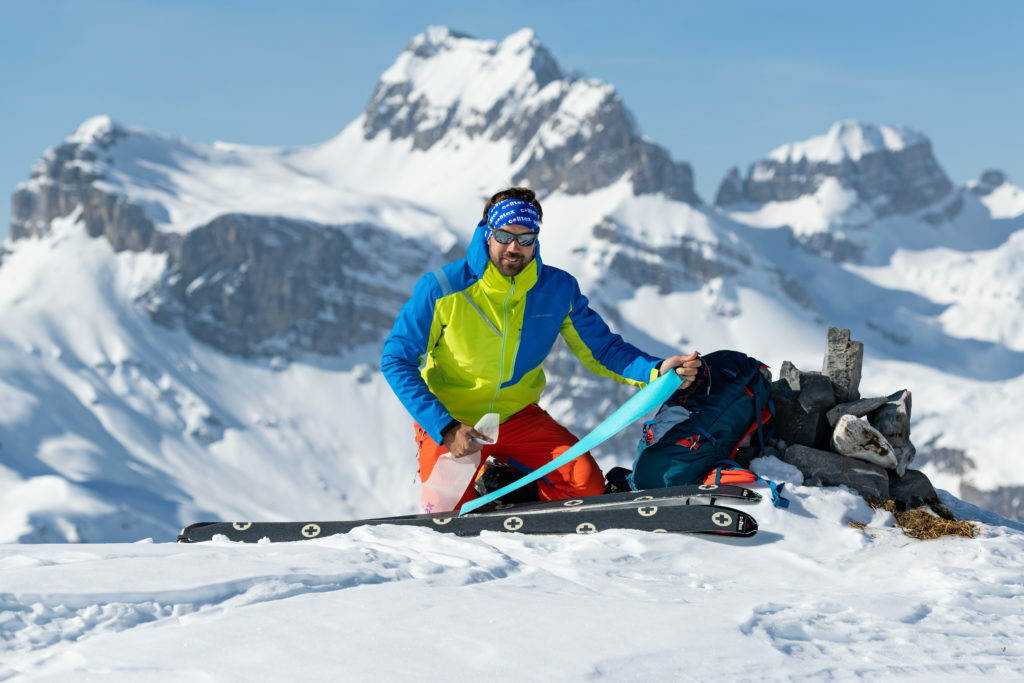
All skins are faced with adhesive. All skins attach to the ski with some kind of fastening at the front. Longer skins may have a rear attachment, too. If you’re touring for turns, you peel the skin off when you get somewhere suitably high, fold it in half, stick it in your rucksack and point yourself downhill. Whee.
There are several factors to be aware of when choosing the right skin – material, width and length are the most important. And it’s also important to understand how to cut and trim the skin so it’s adapted perfectly to the width and length of your skis. It helps to know the best way to attach your skins, too.
Most of us expend a lot of thought on sexier considerations such as skis, bindings and boots. We’d like to make the case here that skins are equally as sexy!
Skins – the alpine tourer’s best friend
Skins are the crucial contact surface between you and the snow for most of the time you spend on the mountain. Roughly 70–90% of the time we spend on skis, from car to summit to car, is spent with skins on! If you’re a cyclist, your first ride of the spring is probably on a beautifully lubed, gleaming machine with tyres to race pressure and brakes tensioned to a mm clearance. It’s curious, and noticeable, that many of us don’t seem to be so invested in taking care of our skins, though. The true value of skins seems to be somewhat under-communicated. There are, we regret to say, misconceptions about the value of skins.
Skins: short or long?
Short skin:
It’s never a bad idea to take a short skin out if you’re touring cross-country in the backcountry. Some of use take a couple of pairs. If conditions make waxing difficult, a skin can save the day. If you’re pulling a load, the hill is steep, or you simply need grip, stick on a short skin. On longer tours and expeditions, skins are considered essential equipment.
Langfell:
Long skins are skins for the steeps: when you have to make serious altitude before the descent, or when the maximum grip is required (pulling a load up a high gradient, for example).
FOUR THINGS TO CONSIDER WHEN YOU BUY SKINS
1. The skin’s material
Once upon a time, skins were made of sealskin. Hence the name.
Today, skins are made of synthetic fibres, mohair (hair from Angora goats), or a mixture of the two. The differences in the material play an important role in terms of friction (glide), grip, durability, and price.
The plush material gives a skin different degrees of grip and glide. These properties vary depending on the material used (nylon, blend or mohair) and how the fibres are woven (thicker or thinner, longer or shorter, more angled or less). As a general rule, skins that glide well have a slightly weaker grip, and vice versa.
Synthetic skins (nylon)
Synthetic skins are usually made of nylon. Nylon is very durable and provides superb traction, but it doesn’t glide as well as mohair. Its main advantage is its superb grip in all snow conditions; it’s good on wet snow, which permits it to glide a little a bitter. For when you need durability or optimal grip (pulling loads up steep hills, for example).
Life: approx 150.000 m
Mohair
Mohair skins provide a good mix of grip and glide at a light weight. They’re less robust and more expensive than nylon, however. For when the skier prioritises glide (although they’ll always provide better grip than grip wax). Particularly suitable on cold tracks.
Life: approx 80.000 m
Goat fans: read about mohair and the angora goat here.Mix-kvaliteter (blanding av syntet og mohair)
Mix skins, with a combination of mohair and nylon, offer a good compromise between good glide, grip, weight, durability, and price.
Life: approx. 120,000 m.
2. Width
Most skins are sold in 5mm increments from 80 to 145mm in width. Wider skins will, of course, cover more of the ski’s sole, giving better grip; the contrary applies to narrower skins. The best solution for cross-country skiers in the backcountry using short skins is usually to take one or two different ones. The vast majority of alpine touring skiers choose to cover as much of the sole as possible, but this isn’t actually entirely necessary – you can get buy with narrower skins, and enjoy better glide.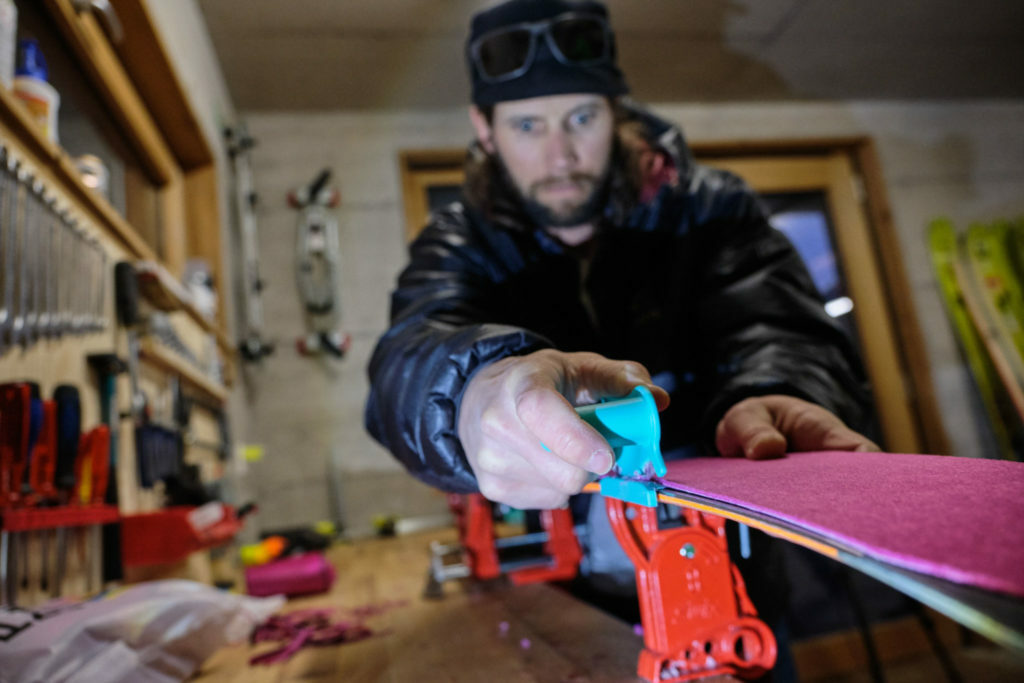
For maximum grip
To achieve maximum base coverage, take the ski’s widest point (usually the front tip) and subtract approximately 5 – 7mm. A skin of that width will cover almost the entire base; you’ll probably have to trim the skin to match the shape of your ski with the knife that often comes supplied.
If your ski measurements are, for example, 132/105/116mm, buying a 125mm-wide skin will cover the base nicely. Wider skins are more expensive, so you pay more for that cover and the grip it affords when your skinning up to the summit.
Lower weight and better glide
Some prioritise weight and good glide. For them, the solution is narrower skins. For alpine touring skiers concerned about weight, the volume of their backpack and better glide, we’d advise choosing a skin that fits inside the waist without covering the steel edge.
If your ski measurements are, for example, 121/95/109mm, choose 90mm-wide skins. Sizing skins based on the waist sacrifices some grip; unable to march straight up a high angle slope, it might pay to practice techniques such as kick turns and to factor in time spent traversing. Many find this a a compromise worth making; it’s down to individual choice.
3. Length
After choosing the right width, it’s time to consider length.
Skis come in different lengths – and so do skins.
Common standards
You might find a pair of skins for alpine touring sold in four lengths: 162–172 cm, 171–181 cm, 180–190 cm and 189–199 cm. If your skis are 185 cm long, you’ll l want to buy the 180-190 cm length and fine tune the length with the adjustable mounts. You usually have about 10 to 15 cm to play with this way.
Some skins are also sold in a length of about 200 cm. If you buy one of these, you’ll have to trim it to the length you want yourself; you may have to clip in the tip hardware yourself. You can probably fine tune the length with adjusters. If the skin doesn’t have a rear attachment, we recommend cutting it about 15cm shorter than the ski.
Customising skins
Most skins for alpine use are sold in specific lengths with attachments at the front and rear. You trim the width and hit the hill. Many come with a cutting tool for this purpose. You trim the skin so that the metal edge has a couple of millimetres clearance so as not to impede edge grip on hard snow and ice.
Skins for cross-country skis in the backcountry are a bit simpler: they come at standard lengths, so you just get one the width you need and lop something off the back if you think it’ll help you glide.
Bespoke skins
Some manufacturers make their own skins tailored for specific skis. Really convenient. If perhaps a little costly. Also remember that it’s likely a skin like this fits those skis alone, and maybe a narrower ski if you’re lucky.
Choosing bindings for cross-country BC skis
Not certain which bindings choose for cross-country skiing in the backcounty? Confused by the difference between NNN-BC or 75mm bindings? Cable-curious? Find all the answers here!

Mounting bindings on cross-country BC skis
If you’re going to mount bindings on cross-country skis built for breaking trail, you have a choice. You can let professionals do it for you and avoid water damage to the wooden core, screws sitting proud of the holes or crooked bindings… or you can bid farewell to your warranty cover, prepare the polyurethane glue and drill, and read on…

Understanding sidewalls
Sidewalls. All skis have them. Few of us know what they actually do. Join us as we explain how they affect the strength and properties of your skis.

Tailoring long skins for alpine touring
Wondering how to tailor your skins for alpine touring? Here’s an overview – care and trimming long skins for touring skis.

Myths about skins – busted
Not everything you hear about skins is right. We’re here to dish the skinny on skins, busting some misconceptions about your skins, complete with counter-evidence and tips garnered through trial and error in real snow, by real skiers, in actual Norway.

Tuning steel edges
Tuning and maintaining your steel edges is pretty simple if you have the tools. If you don’t, you can take them to a workshop to have them machined. Everyone has an opinion when it comes to grinding. And much is a matter of preference. But it’s worthwhile bearing in mind that ski designers made their decisions for a reason…