New skins?
If you’ve just got some new skins, or your first full set for the mountains – boots, beacon, helmet, poles, skis and skins – you’ll be anxious to get your skins right.
Today, most skins come in fixed lengths and widths. They also have fixtures at the front, and preferably an adjustable fixture at the back, allowing you to adjust the length for your skins. Skins typically come in “clothes sizes”, from extra-small to extra-large. A glance at the size chart or packaging well tell you which one you need.
Does the skin have to cover the entire sole?
No. A skin made for getting you to the top of a mountain doesn’t have to cover the entire ski base. That would be a lot of skin. Neither the tip of the ski and the rear 20cm of the skin are used when you’re propelling yourself. It’s also not a big problem if the skin’s slightly narrower than the ski’s widest points. All you need is relatively good coverage underfoot. Less skin under the ski means less resistance. Which means better glide. You don’t want to lift your skis from the snow while you’re ascending. Generally, most “universal skins” come in 120–130cm widths. This should work in most cases.
Tailoring your skins

Wool is completely excellent
Norway’s famous for its changeable weather. Even in summer it can vary from 5° to 30° C. Such variable weather makes it difficult to know how to dress – which is why we say “ull er gull”: wool is gold. Wool keeps you warm in winter, and regulates your temperature in the summer. Wool is the best. A billion sheep can’t be wrong.

Waxing and prepping alpine touring skis
We don’t put in all that effort just for the view. We do it for the way down. So let’s talk about glide wax. It provides better glide, protects the sole from wear. The specific wax, even how carefully you do the work, isn’t really so important – it’s not a race. And it doesn’t have to be complicated at all…
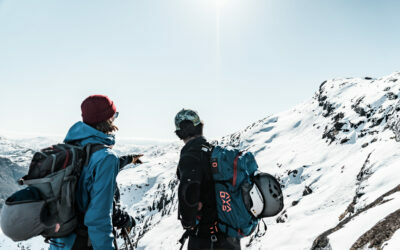
Planning a tour
“Better safe than sorry” doesn’t mean you have to be anxious- Planning isn’t just something that makes your trip to the mountains safer – it’s a source of inspiration.

Tuning steel edges
Tuning and maintaining your steel edges is pretty simple if you have the tools. If you don’t, you can take them to a workshop to have them machined. Everyone has an opinion when it comes to grinding. And much is a matter of preference. But it’s worthwhile bearing in mind that ski designers made their decisions for a reason…
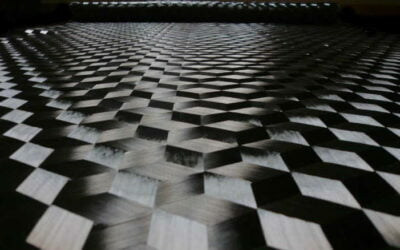
What are carbon skis really?
Is there really any such a thing as a “carbon ski”? Well… no. We explain why – and what carbon and fiberglass actually mean to ski construction.
Hot waxing skins
Hot waxing skins? Yes. That’s right. The rumours are true: you can wax skins. With glide wax. And an iron. And for alpine touring, it works a total treat.