How do you choose a good route?
Between them, our panel of experts have incomparable experience in skiing, climbing high mountains, hiking and conducting expeditions. When you’ve been doing this for a while, you learn a trick or two. VWe’re passionate about sharing knowledge – passing on the knowledge and the tools other need for enjoying the mountains as safely possible, and to learn even more for themselves. That’s what the Åsnes Academy was founded for. Seven free tips, then, to find a safe route up the mountain.Planning a little expedition and a photoshoot, we download topographical maps and satellite images of the mountains and the area to our phones. Since we haven’t been in the area we’re going to before, we want to be sure that the routes are passable. We’ll also have some good backup plans in case we don’t find the conditions we expected. We simply want to be confident that we have several sensible choices of route… Studying the map, planning and looking for routes, is an art we all value highly. For us, it’s an important part of the expedition and a fun art to practice in its own right. The goal is, of course, to get to the goal in a safe way and have the strength to get back down. It is always a good idea to plan the trip so that we have juice in our legs to go back down. – Åsnes Academy
Before the tour
To make this article a little easier to digest, we’ve divided the information into two parts. One has tips for the work before the tour; the other has tips related to the tour itself and what you do along the way. The key is to do your homework. That’s the first priority.Planinng
While nothing in the world is as good as actually skiing, planning to go skiing is not bad – inspirational, often social. Planning is where experiences are forged. Planning is also more than sensible: it makes the experience safer. Leaving a mountain in a rescue helicopter is not an experience anyone should want.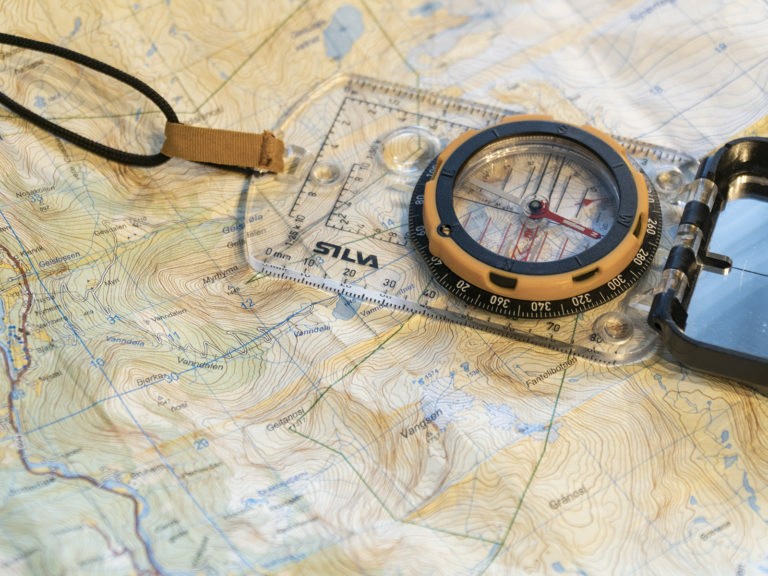
Signs of a good route
Signs of scary route
Use GPS, map and compass
We’re blessed with aids, apps and gadgets these days. You can track your route with a watch or an app. Many apps and route-planners also have “heatmaps” that show the most-used routes, too. If you track yourself on the way up, you have an excellent and (presumably) safe alternative on the way back down if there’s a full whiteout or poor visibility. You just back-track. This is very, very convenient – it’s saved us many times. You can also save the GPX file to share the route with your friends, or just save it for the next trip. Practical, nein? But remember. Anything that runs on a battery can run out of power. Take a map, compass, and an extra battery. Don’t trust in a smart watch or iPhone that conks out as the thermometer approaches 0°. Definitely do not be the one to put your five-year-old smart phone in your armpit “to warm up the battery”.Get technical…
Download the Norgeskart app and the RegObs app. These let you download maps you can use without reception, create map sections with routes, and use the gradient map from NVE. And they offer a lot of good information for planning and touring. The steepness map in the RegObs app gives you your position and full overview of the gradient and terrain around you (you do need coverage though). If you’re in Norway, don’t forget the 113 app. If you have to notify the emergency services, they’ll have your position.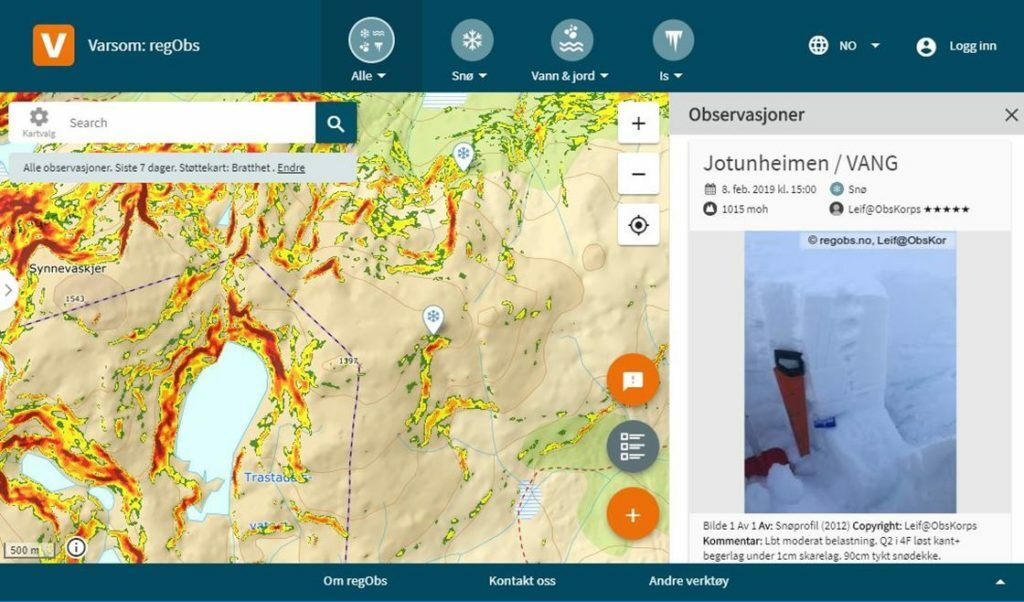
Out on a tour
Wake up, sheeple!
As tempting as it us to follow random ski tracks up into the clouds – look around; observe; use your senses. Resist the urge to sheep it. Think; make decisions about where you’re going, based on where you are, all the time. Sensors on! Without them, it’s hard to see danger signs and red flags. Don’t rely on others to see them for you. Be vigilant yourself. If you see, or sense, danger – say so. In many cases, ski tracks can be convenient. It’s tempting to follow them, especially in deep snow. But this isn’t always wise. So think. Snow changes from hour to hour – so adapt your route to changes to snow and conditions if you have to.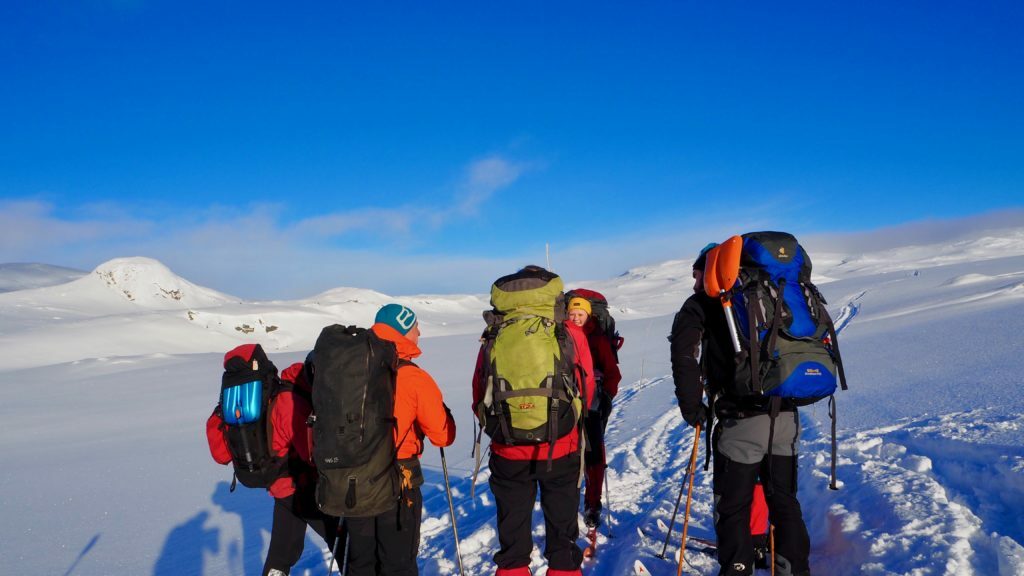
Talk together, listen, learn, discuss – good communication is essential. Photo: Crister Næss / Åsnes
Good communication – good friends listen and work together
Good communication and openness in the tour group is completely mandatory. It’s important that everyone speaks up: consensus isn’t worth anything without actual agreement. Good friends listen when someone has misgivings. Keep a pace that’s good for your crew. Take into account the whole group’s strengths and weaknesses. Tailor the tour to your skill levels and physicality.Follow your heart and your gut
Follow your heart: maintain a constant heart rhythm for the entire ascent. You don’t want the way up to become an unintended interval session draining you of the energy you’d rather have for laughing in joy and/or rescuing yourself from hilarious wipeouts on the way back down. A nice, smooth, rise at a reasonable 10°–20° is really what you want. Keep it flowing; keep your pulse ticking away nicely. Speaking of essential organs: listen to your gut. If your instincts say something’s not right, say so. Discuss it. Apart from anything, it’s better to get it out. You can train your intuition. It takes time spent in the mountains. If you’ve got a well-trained gut, do listen to it if it tell you it’s time to reconsider something – and maybe even turn around.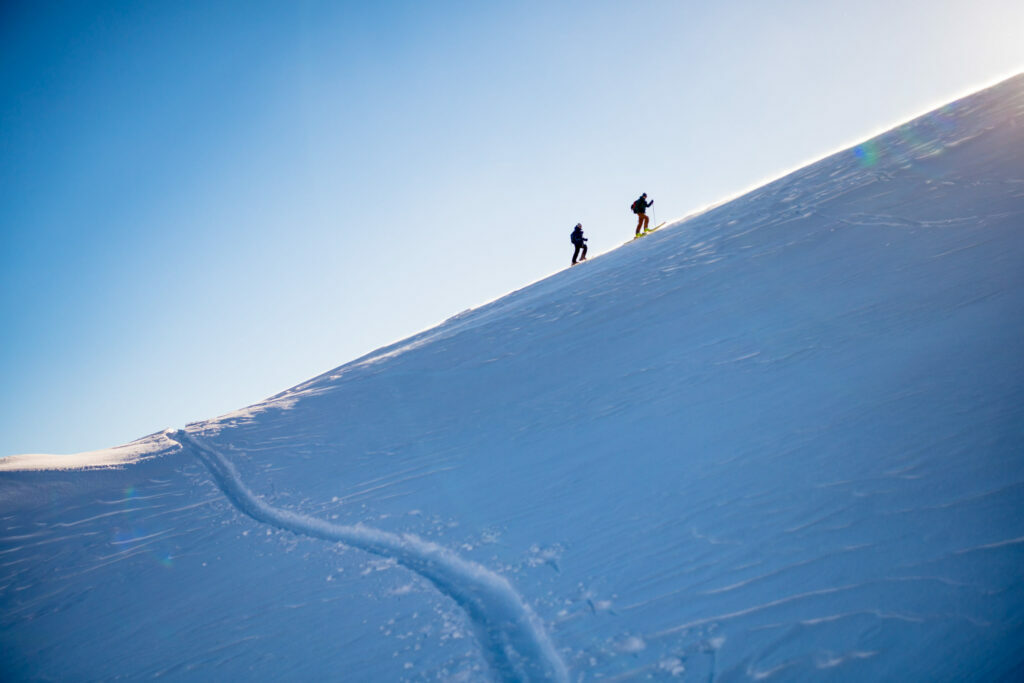
Do like French and Canadian guides – break good, not too steep, trail. There’s a reason why these guides work in the mountains until they retirer. Photo: Åsnes
Not too steep
Finally: choose the perfect slope. The ideal route minimises the linear distance without making the trail too steep. If you’re sleeping, or your skins aren’t gripping enough, or you’re climbing with your heel bars high all the time – you’re wasting energy.Want to know more?
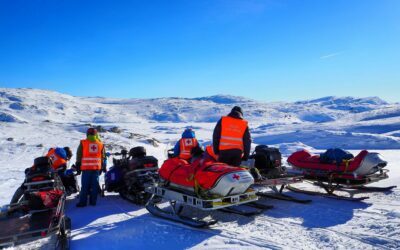
Life-saving first aid in the wilds
A bad fall. A collision. Exposure. Preparation might save a life. As always, it’s a matter of planning and the right packing. With a little knowledge, some practice (and some way to contact the emergency services) you’ll have the basics covered. This could make a life-saving difference.
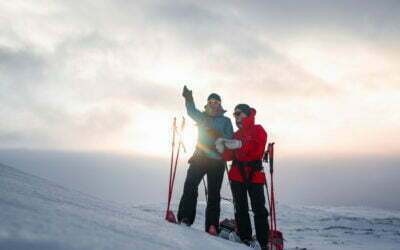
13 tips for better orienteering.
Few of us set out into the winter mountains when the weather’s bad and visibility’s poor. And we’re careful for good reason. It’s risky. When nature shows its muscles, it forces us to reflect. Even so, Norway’s a country with plenty of mountains and even more weather. If we only headed out when the sun was shining, the season would be very short. We head out when the weather’s less than perfect – which means we need to be able to find our way with a map and compass. Here are 13 tips for using a map and compass, then, for those of us hitting the mountains in winter.

Firing up the stove in winter
Nothing whets the appetite more than a long day skiing in the winter mountains. Fire up the burner, boil some water for some tea and reach for the packet of dehydrated chilli: paradise found. But doing this in the winter you need to bear a couple of things in mind. So here are some wily strategies to make things easy and safe.
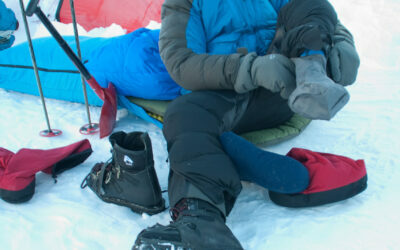
Handling hypothermia
Do you know what to do when you’re faced with someone dangerously cold? Command of the basic facts can be lifesaving – and this is just as relevant for us those of us who hit the mountains for the joy of it as it is for guide and members of the rescue services.

The Mountain Code
Being mountain-wise isn’t a question of knowing what you should and shouldn’t do. It’s about having a conscious relationship with nature; the choices you make; the actions you take. The Mountain Code guides everything from planning you trip to adapting your plans according to what greets you out in the wilds. Here’s a look at the rules, with material largely taken from the creators of the new Mountain Code (2016), the Red Cross and DNT.
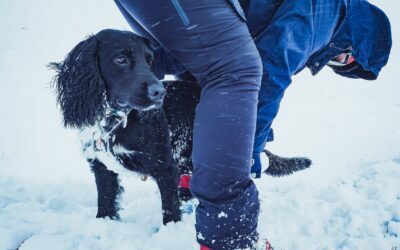
Learn first aid for dogs
Crister Næss, former Åsnes company stalwart, has several years experience as a dog handler in the Norwegian Armed Forces. For him, taking a first aid kit for the dog as is as natural as taking one for other humans.