The unbearable weight of getting ski wax right
Let’s play Cross-Country Ski Wax Bingo! Skis that won’t grip! The Great Easter Klister Disaster (“First it’s in the tube. Then it’s on the dog”)! Grip-zone covered with five centimetres of hard ice! Looking enviously at people who remembered to bring their kicker skins! There are, of course, things you can do to prevent wax disasters. The first thing to remember is: a trip to the mountains is not a race. While the Norwegian national cross-country team might select their grip wax after analysing snow in their expensive trailer-laboratory, the solution for the rest of us will be different. The simplest thing is often the best. All we want is something that works. Preferably for a few days. So let’s leave the lab work to the racers and the pros. At Åsnes, we know a thing or two about waxing skis for the backcountry, too. Here’s what we know.Waxing and prepping fjellski:
Equipment
First of all – you don’t need a gigantic Swix suitcase full of unnamable kit. And don’t be intimidated by that wall full of waxing products in the sports shop. We’re going to the mountains, we don’t have a race to win. The one with the biggest smile at the end of the day gets the trophy. Your resealable plastic bag with some blue Swix, klister and a cork puts you well on your way. A small selection of waxes, maybe something glidy and a few tools that you’ve learned how to use increases your chance of success. To make the experience of preparation a little easier, we’d like to recommend a little coffee (or something a little more lively) and good music in the background. Conversation and wax discussion is helpful too. Let’s discuss gear: Oh, and you’ll want some Swix base cleaner and some fiberlene paper for cleaning up. We are not savages. God tur!Waxing: the magic formula
Decades of experience with expeditions, ski production, trial and error and endless collective discussion and dorkery has brought us to a method that works very well for us. Not everyone does it exactly like this. But if you follow the procedure set out below, at least you won’t be doing anything actively wrong!
On a wax-free ski, you can put glide wax on the entire sole if you want. It serves to reduce icing. The problem, though, is that it’ll be a pain to scrape and brush the wax out from the waxless pattern. You want to get it all out. However, it reduces icing to a certain extent when the entire sole is well saturated with wax.
The easiest thing is to put glide wax on to the glide surfaces of your waxless skis (the un-patterned bit). Then you can use liquid glide wax or skin wax on the pattern and the skins if necessary. Skin wax on your skins stops them from accumulating ice.1. Start with a clean ski
When skis are new from the shop, they’re usually prepped from the factory. This is to stop bases from getting damaged in transport, largely, and to prevent bases from drying out or getting dirty. We recommend doing a comprehensive new-ski prep when you get a new pair. You know where you are; it makes things easier in the years to come. You can repeat the process before each season, or follow our recipe of what to do at the end of the season.Gå over stålkantene
On alpine touring skis and cross-country skis for the backcountry, it’s important that steel edges aren’t too dull. Before grinding them, go over them with a brass brush or gummi stone and remove surface rust. You can sharpen steel edges yourself if you have the tools. If they’re too dull, we recommend having them sharpened on a machine by someone who can do this. Dull steel edges affect cornering properties and edge grip in hard conditionsYou really don’t want to find wax from the previous season when you get your skis out on the first snow day of the new one. Clean your bases at the end of the season and preparation will be much easier.
Åsnes Academy Expert Panel

2. Glide wax – the power of wheee!
Doing glide wax can actually be pretty good fun in the right circumstances – coffee, beer, friends over, some good music on… start plotting routes, day trips and logistics. You need your skis stable and, preferably, clamped. An old ski box with holes for the bindings and the shovel is better than nothing if you know what you’re doing. Keep the iron moving. You don’t want to spend more than five seconds on a single ski. Stay in a single place and you’ll burn the base; get the ski too hot and you can damage it internally. The temperature should be 110° for yellow wax and 120° for red.Thin layers of glide was make less work. It’s easier to put down two layers of thin glide wax in two passes rather than scrape and brush out a thick layer. You also get more wax into the base this way.
It’s better to use glide wax that’s “too cold” for warm conditions than glide wax that’s “too warm” for cold conditions – harder glide waxes don’t slow you down in warm conditions as much as soft glide waxes can slow you down in cold conditions.
You can put new wax for changing conditions straight on to the wax you have on at a pinch, as long as your bases are not clearly dirty.
Åsnes Academy Ekspertpanel
Instant glide
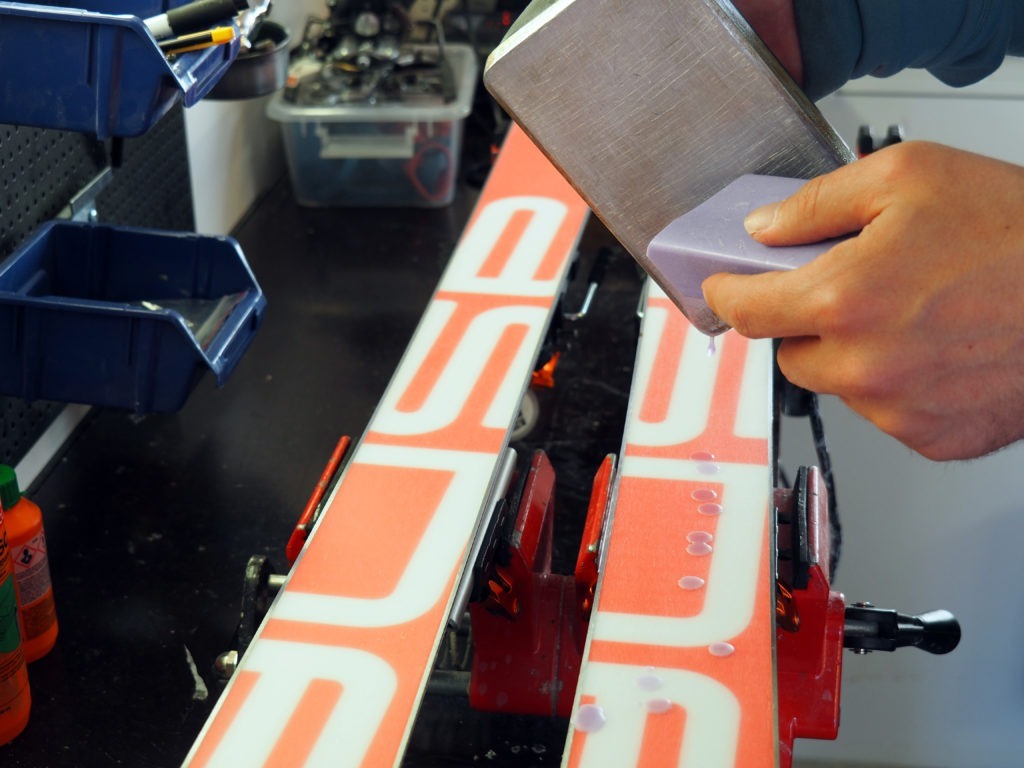
A simpler method, which can easily be used out in the field or on a multi-day trip, is instant glide wax. This is a liquid glide wax you apply to the glide zone and then cork in. These can be bought in most sports shops and usually have an integrated cap and a built-in applicator, rather like a roll-on deodorant. Liquid glide waxes have a shorter life than hard wax glide waxes. While they’re not a replacement for hard glide wax, you can take one with you into granular spring snow as a top-up, or for extremely cold days when you just want to protect the sole a little…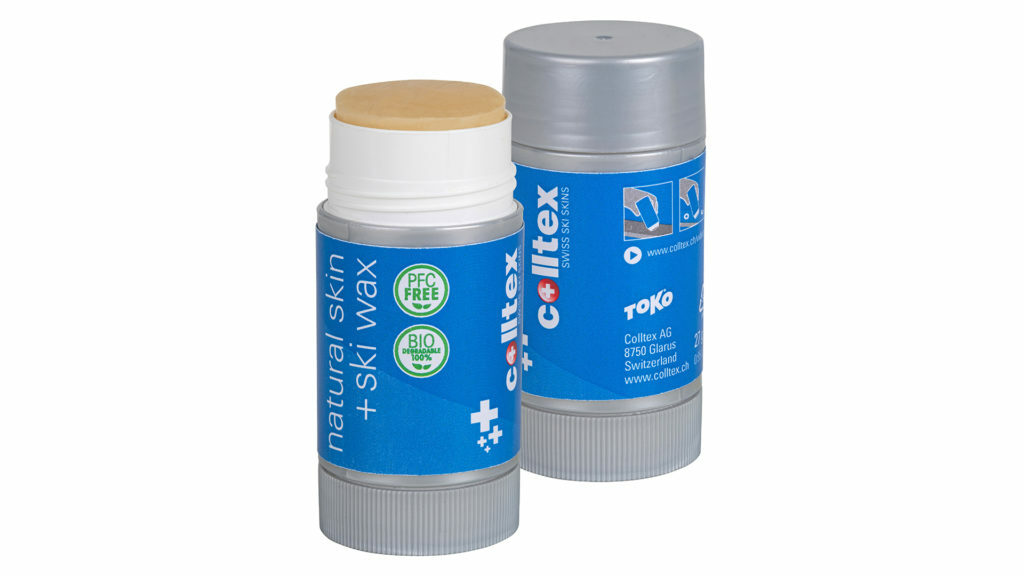
Here’s a good example of a 100% PFC-free and biodegradable wax for bases and impregnating skins.
Grip zone
Also known as the wax pocket. This is where your grip wax goes. You don’t want to get glide wax in this area – grip wax doesn’t adhere to glide wax. It’ll come straight off.
There’s nothing stopping you from gently rubbing fine-grit sandpaper on the grip zone before you apply base wax, if you like. This is common for racing skiers to do, anyway. You may prefer a simpler approach, and there’s nothing wrong with that.

Glide zone
The front and rear thirds of your ski bases: the smooth parts of the sole that bear your weight in the glide phase of the classic ski motion.
3. Base wax
Your choice. Racing folks like purpose-made base binder to bind their grip wax. Here, we prefer a hard grip wax like Swix Polar to do that job. Most of us only need to put base wax on once or twice the entire season. Even so it’s not necessarily the end of the world if you go entirely without – it just means stopping more often to reapply grip wax.Before you apply the base binder to your wax pocket, gently rub the grip zone with fine sandpaper (100 or 120 grit). Your base wax wax will adhere better, and this your grip wax will too. It ends up being less work out in the wilds.
Åsnes Academy Expert Panel
4. Grip Wax
Grip wax goes on according to the conditions of the day: the thermometer and the age of the snow. Blue Swix on colder days; Red Swix on warmer days. How much, length-wise, and how many layers you put it on, depend on how far you’re going and how much you think the snow’s going to rub it off. The key to getting it right is simple:Begin with something too cold and hard. Then apply something appropriate to the temperature. Start with a colder wax to bind and follow it up with a warmer wax. Experiment; find out what you like. The lower the temperature on the tin, the colder it can go. Swix Polar makes a great “base wax” being the coldest of them all.
Åsnes Academy Ekspertpanel
5. Klister
Finally we turn our attention to klister [ominous organ music]. All we can say is that despite its reputation, klister can be absolutely amazing. We can ski under a perfect blue May ski, in rotten snow, with perfect grip and wonderful glide, without icing up. Even the wax experts from the Norwegian national team love klister. Klisters come in tubes and sprays. Although sprays may seem tempting, and are probably the easiest to use, we would recommend going for tube klisters. They give the best results. Maybe give your skis a little gentle sanding before putting klister on if you can. Apply it in a herringbone pattern in a thin layer on the grip zone. Rub it in well – thumb or scraper first, and then a cork. When using universal klisters, apply colder klisters first. Thin layers are the rule here, too. Let each layer harden for 5–7 minutes before you add another. Also remember that klister’s hard work in the cold – room temperature is best. Keep the tube in your inner pocket
Choosing bindings for cross-country BC skis
Not certain which bindings choose for cross-country skiing in the backcounty? Confused by the difference between NNN-BC or 75mm bindings? Cable-curious? Find all the answers here!

Tuning steel edges
Tuning and maintaining your steel edges is pretty simple if you have the tools. If you don’t, you can take them to a workshop to have them machined. Everyone has an opinion when it comes to grinding. And much is a matter of preference. But it’s worthwhile bearing in mind that ski designers made their decisions for a reason…
What’s inside your skis?
What are the skis made of? How are they made? What sets Åsnes apart? Here’s that guide to the inside of our skis you were looking for!
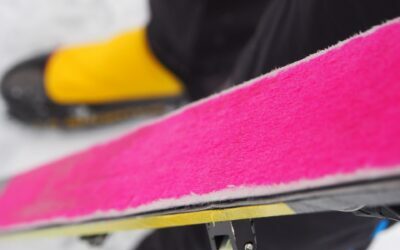
Choosing the right skin
Short skins have revolutionised trips to the backcountry on nordic skis. Long skins get you to the top. You can nail gliding, climbing, pulling, gripping, poor conditions, good conditions, days when you’re feeling too lazy to wax. We break down material, length, width, care, and everything else you’ll want to know.

So – what exactly is a skin, anyway?
Skins are more than a strip of carpet with glue on the back. They’re tools designed to help us in pursuit of pristine snow, perfect lines, and/or solitude. Something this magical demands a proper description of how it’s made.

Waxing and prepping alpine touring skis
We don’t put in all that effort just for the view. We do it for the way down. So let’s talk about glide wax. It provides better glide, protects the sole from wear. The specific wax, even how carefully you do the work, isn’t really so important – it’s not a race. And it doesn’t have to be complicated at all…